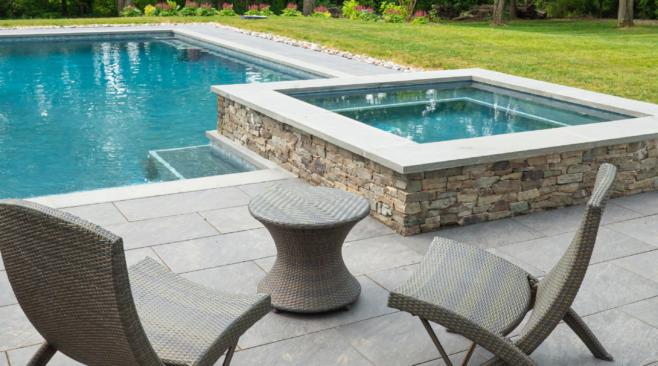
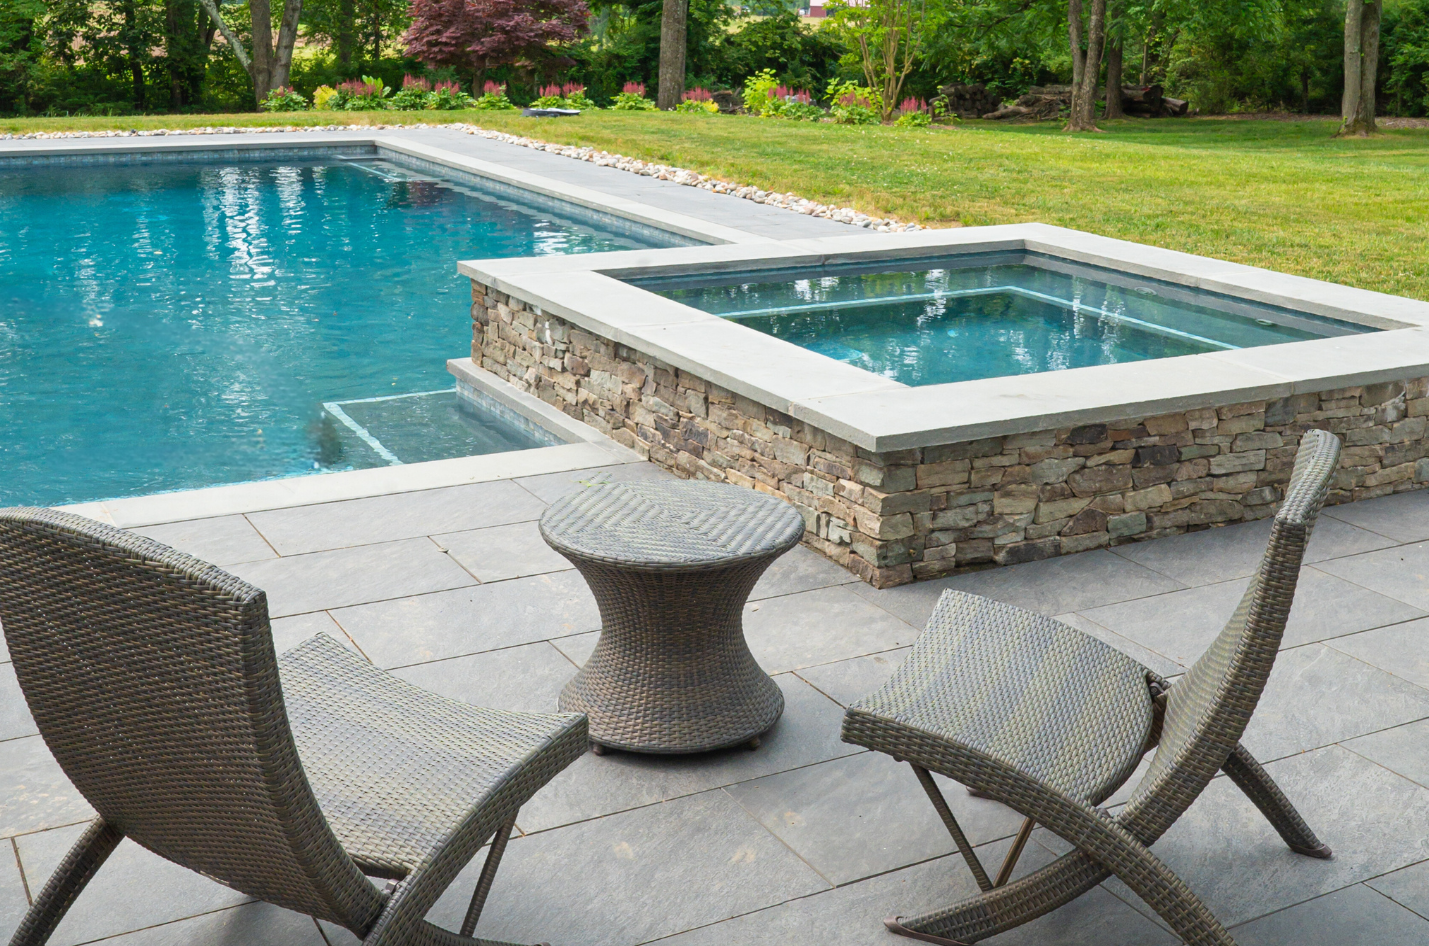
Pool tile may occupy a relatively small portion of your outdoor space, but it can have a major influence on the overall look of a pool.
From classic waterline tile to bold mosaics and contemporary porcelain, pool tile introduces color, texture, pattern, and personality to the design. It can create a subtle transition between the water and coping or become one of the pool’s most noticeable design features.
Because pool tile is continuously exposed to water, pool chemicals, changing temperatures, and seasonal conditions, selecting the right product and installing it correctly are especially important.
Once installed, regular cleaning, proper water chemistry, and seasonal inspections can help keep your pool tile looking its best.
Whether you are building a new pool, renovating an existing one, or replacing older tile, here is what to know before installation and how to care for your pool tile afterward.
Choose Tile Specifically Intended for Pool Use
Not every beautiful tile is appropriate for a swimming pool.
Pool tile needs to be suitable for its intended application and exposure conditions. A product designed for an indoor kitchen backsplash, for example, should not automatically be assumed to be appropriate for a pool.
Before selecting a tile, determine exactly where it will be installed.
Will it be used at the waterline? On steps? As an accent? On a spa? In a continuously submerged application?
Product requirements can vary depending on the location.
For outdoor pools in Northern New Jersey, freeze-thaw conditions should also be considered. Always confirm that the tile is appropriate for the specific pool application and local climate.
See Pool Tile in Person
Pool tile can be particularly difficult to select online.
Colors may look different depending on your phone or computer screen, and photographs do not always capture texture, reflectivity, variation, or scale accurately.
Visiting a showroom allows you to see these characteristics firsthand.
This becomes especially important with mosaics, glass, iridescent finishes, and highly varied tiles. A small photograph may look relatively simple, while the material can have significantly more depth and movement when viewed in person.
Whenever possible, take samples into different lighting conditions to see how the appearance changes.
Think About How the Tile Will Look With Water
Pool tile is unique because its appearance is influenced by water.
A tile that looks one way when dry may appear deeper, darker, brighter, or more reflective once it is wet.
Keep this in mind when comparing samples.
If possible, wet a sample to get a better sense of how the color and finish may change. This can be particularly useful when choosing waterline tile or a material that will remain submerged.
Remember that sunlight, water depth, the pool finish, and surrounding materials can all influence the overall appearance of the finished pool.
Coordinate Tile With Your Pool Coping
Pool tile should not be selected independently from the coping.
These materials meet directly at the pool’s edge, making their relationship particularly noticeable.
Some designs use similar tones to create a seamless transition, while others introduce intentional contrast.
For example, neutral coping may provide balance for a colorful mosaic tile, while more understated waterline tile can allow natural stone coping to become the focal point.
Bring coping samples with you when selecting tile whenever possible.
Seeing the two materials side by side can make the decision considerably easier.
Consider the Entire Pool Deck
Look beyond the immediate edge of the pool when making your selection.
Your pool tile will also be viewed alongside the pool deck, patio, outdoor kitchen, retaining walls, landscaping, and architecture of the home.
A successful pool environment should feel connected to the rest of the property.
Consider repeating subtle colors or undertones from your pavers, porcelain, or natural stone within the tile selection.
The materials do not need to match exactly. Often, a little contrast creates a more interesting design.
Decide Whether the Tile Should Blend In or Stand Out
Pool tile provides an opportunity to introduce personality into the design.
Before looking at specific products, decide what role you want the tile to play.
Do you want a subtle waterline that blends into the overall pool environment? Or do you want a mosaic, pattern, or color that immediately catches your attention?
Both approaches can work.
A more restrained tile can create a timeless look and allow other materials to take center stage. A distinctive tile can become a design feature and introduce color that would be difficult to incorporate elsewhere.
Establishing this direction early can make the selection process much easier.
Think Beyond the Waterline
The waterline may be the most common place for pool tile, but it is not the only option.
Depending on the pool design and tile product, tile can potentially be incorporated into:
- Steps
- Spas
- Raised walls
- Water features
- Benches
- Accent areas
- Pool interiors
Repeating the same tile in small areas can create continuity throughout the design.
Alternatively, complementary tiles can be used to differentiate a spa or other feature from the main pool.
Discuss your ideas with your pool designer and installer to make sure the selected tile is appropriate for each intended application.
Consider Tile Size and Pattern
Tile dimensions can significantly affect the finished appearance.
Small mosaics can create movement and accommodate curves or detailed areas, while larger-format tiles may provide a cleaner and more contemporary aesthetic.
Pattern also matters.
Highly varied or patterned tile can look very different across a long waterline than it does on an individual sample sheet.
Ask to see larger displays whenever possible so you can understand how the design repeats across a broader area.
Think About Grout Color
Grout may seem like a small detail, but it can dramatically change the appearance of pool tile.
A grout color that closely matches the tile can create a more unified surface. Contrasting grout can emphasize individual pieces and make a pattern more noticeable.
Consider how the grout will look alongside the tile when both are wet and dry.
Your pool installer can also help determine which grout products are appropriate for the application and exposure conditions.
Order Enough Tile
Once the tile is selected, your pool professional or installer should determine the quantity required.
Cuts, corners, patterns, breakage, curves, and other jobsite conditions can all influence how much tile is needed.
Consider keeping some unused tile after the project is finished.
Tile collections can change or be discontinued over time. Even if a similar product remains available, finding an exact match years later can be difficult.
Having a few original pieces available can be extremely helpful if a future repair becomes necessary.
Make Sure the Surface Is Properly Prepared
Pool tile is only the visible portion of a larger installation system.
The surface underneath it must be properly prepared, and the appropriate setting materials, waterproofing components, grout, movement joints, and installation methods should be used for the specific application.
Pools are demanding environments.
Constant water exposure, chemicals, temperature changes, and seasonal conditions can place significant stress on an installation.
This is one area where professional installation is particularly important.
Your installer should follow the requirements of the tile and installation-product manufacturers as well as applicable industry practices.
Once the pool tile is installed, ongoing care becomes an important part of maintaining its appearance.
Maintain Proper Pool Water Chemistry
One of the most important ways to protect your pool tile is actually through the water itself.
Improperly balanced pool water can contribute to mineral deposits, scaling, staining, and deterioration of certain pool components.
Follow the recommendations of your pool professional for maintaining appropriate water chemistry.
Regular testing and adjustment can help protect not only the tile but also grout, equipment, and other materials throughout the pool system.
Clean the Waterline Regularly
The waterline tends to collect sunscreen, body oils, pollen, minerals, and other residue.
Rather than allowing this buildup to become heavy, clean the waterline periodically throughout the swimming season.
Regular light cleaning is generally easier than attempting to remove a significant amount of buildup all at once.
Use a cleaner and tool appropriate for your specific tile. Avoid abrasive products unless they are specifically recommended for the material.
Address Calcium and Mineral Deposits Early
White or chalky deposits along the waterline can sometimes be related to calcium or other minerals.
These deposits can become more difficult to remove if allowed to build up over time.
Before attempting aggressive cleaning, identify what is causing the deposit.
The appropriate treatment can depend on the tile, grout, water chemistry, and type of buildup.
If deposits are recurring, cleaning the tile may only address the symptom. Have your pool water chemistry evaluated to determine whether an imbalance is contributing to the problem.
Use the Right Cleaning Products
Not every household cleaner is appropriate for pool tile.
Different tile materials can respond differently to acidic, alkaline, abrasive, or chemical cleaners.
Glass, porcelain, ceramic, and natural stone products may all have different maintenance requirements.
Follow the tile manufacturer’s recommendations and use products appropriate for both the tile and grout.
When trying a new cleaning product, test it on a small, inconspicuous area first.
Avoid Overly Aggressive Scrubbing
When buildup becomes stubborn, it can be tempting to reach for the most abrasive brush or cleaning tool available.
Be careful.
An aggressive cleaning tool may scratch or dull certain tile finishes or affect the grout between pieces.
Start with the least aggressive method appropriate for the material.
If buildup cannot be removed through normal maintenance, consider professional pool tile cleaning rather than risking damage to the surface.
Inspect Grout and Joints
Periodically inspect the areas between tiles.
Look for cracked, missing, loose, or deteriorated grout as well as any noticeable changes around corners, transitions, or other details.
Small issues can be easier to address when caught early.
Loose tile, widespread cracking, or recurring grout failure may indicate a larger issue with the installation or underlying pool structure and should be evaluated by a qualified professional.
Watch for Loose or Cracked Tile
As you clean the pool, take a moment to visually inspect the tile.
If you notice an individual tile becoming loose or cracked, address it before the problem spreads.
This is another reason keeping leftover tile from the original installation can be so valuable.
Replacing one damaged piece with an original matching tile is much easier than trying to locate the same product years after the project was completed.
Prepare Your Pool Tile for Winter
Outdoor pools in Northern New Jersey need to be properly winterized.
Follow your pool professional’s recommendations for lowering water levels, winterizing equipment, and protecting the overall pool system.
Before closing the pool, clean the waterline and remove significant buildup.
This gives you a cleaner starting point when the pool is reopened and prevents deposits from sitting on the tile throughout the off-season.
Winterization should also account for the tile installation and local freeze-thaw conditions.
Inspect Your Tile When Opening the Pool
Spring pool opening is an ideal time for a thorough inspection.
Once covers are removed and the pool is accessible, check the tile and grout for visible changes.
Look for:
- Loose tiles
- Cracked tiles
- Missing or damaged grout
- Mineral buildup
- Staining
- Changes around corners and transitions
Clean the waterline as necessary and address repairs before the pool enters regular use.
Catching small issues during spring opening can help you avoid dealing with them in the middle of swimming season.
Keep the Complete Pool Environment in Mind
Pool tile is only one component of your outdoor living space.
As you maintain it, also pay attention to the surrounding coping, patio, drains, outdoor kitchen, landscaping, and other nearby materials.
Water, debris, cleaning products, and pool chemicals can move between these surfaces.
Using maintenance methods that are appropriate for the entire surrounding environment can help protect more than just the tile.
Enjoy Your Pool Tile for Years to Come
Pool tile provides an opportunity to bring color, texture, and personality into your outdoor space.
A successful installation begins with selecting a tile appropriate for pool use, seeing it in person, considering how it looks wet, coordinating it with the coping and pool deck, choosing the right grout, and relying on proper installation methods.
Afterward, routine care can help maintain the finished result.
Keep your pool water properly balanced, clean the waterline regularly, address mineral buildup early, use appropriate cleaning products, inspect grout and tile, and give the installation extra attention when opening and closing the pool each year.
With thoughtful selection, professional installation, and regular maintenance, pool tile can remain one of the most distinctive details of your pool environment for years to come.
Braen Supply can help homeowners, pool professionals, contractors, and landscape designers explore pool tile alongside coping, pavers, porcelain, natural stone, and other materials for complete pool environments. Visit one of our Northern New Jersey showrooms to compare pool tile in person and see how different colors, textures, and materials can work together throughout your outdoor space.
Frequently Asked Questions About Pool Tile Installation and Maintenance
1. What should I consider before choosing pool tile for my backyard?
Before selecting pool tile, consider where it will be installed, the material, color, texture, and how it will complement your pool coping and surrounding deck. Glass, porcelain, ceramic, and mosaic tiles can offer different appearances and maintenance requirements. Not every tile is suitable for continuous water exposure or outdoor freeze-thaw conditions, so it’s important to choose a product specifically approved for your intended pool application. Visiting a showroom to compare tile samples in person can help you make a more informed decision.
2. What is the best way to clean and maintain pool waterline tile?
The best way to maintain pool waterline tile is to clean it regularly before sunscreen, body oils, minerals, and other residue have a chance to build up. Use a cleaning product and soft or manufacturer-approved tool appropriate for your specific tile material. Avoid harsh chemicals and abrasive scrubbers that could scratch the tile or damage the grout. Maintaining properly balanced pool water can also help reduce staining and mineral deposits throughout the swimming season.
3. How do I remove calcium buildup from pool tile?
Calcium buildup often appears as a white, chalky residue along the pool’s waterline. The appropriate removal method depends on the tile material, grout, and type of mineral deposit. Before attempting to remove the buildup, identify its cause and use a cleaning product specifically recommended for your tile. Avoid aggressive scraping or acidic cleaners unless approved by the manufacturer. If calcium deposits continue returning, have your pool water chemistry evaluated to address the underlying problem.
4. How long does pool tile last, and what maintenance does it require?
Properly selected, professionally installed, and maintained pool tile can last for many years, although its lifespan depends on the material, installation quality, water chemistry, and environmental conditions. Routine maintenance includes cleaning the waterline, removing mineral deposits, maintaining balanced pool water, and inspecting grout and tile for damage. Addressing loose tiles, cracks, or deteriorating grout early can help prevent more extensive repairs.
5. How do I protect my pool tile during winter?
Protecting pool tile during winter begins with properly winterizing your swimming pool according to your pool professional’s recommendations. Before closing the pool, clean the waterline, remove mineral buildup, and inspect the tile and grout for damage. In colder climates like Northern New Jersey, proper winterization is especially important because freezing temperatures can place additional stress on pool materials. When reopening your pool in spring, check for cracked or loose tiles, damaged grout, and staining before the swimming season begins.