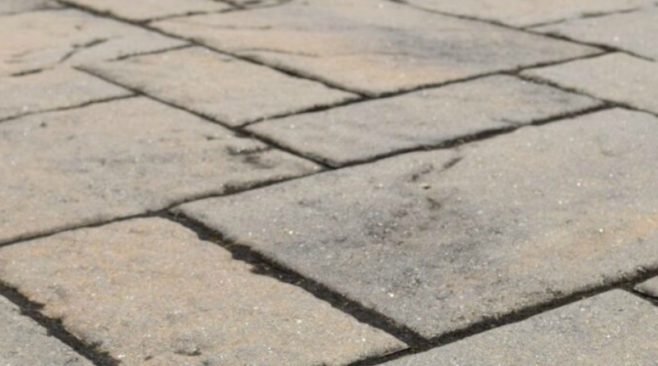
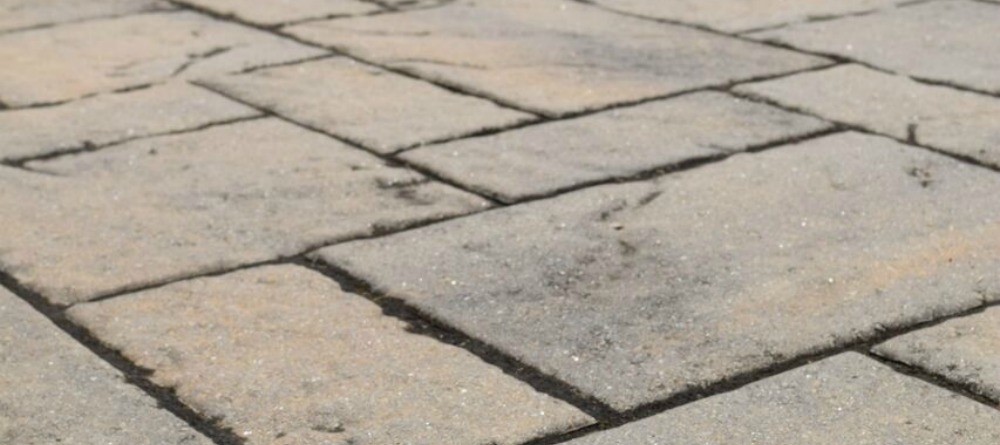
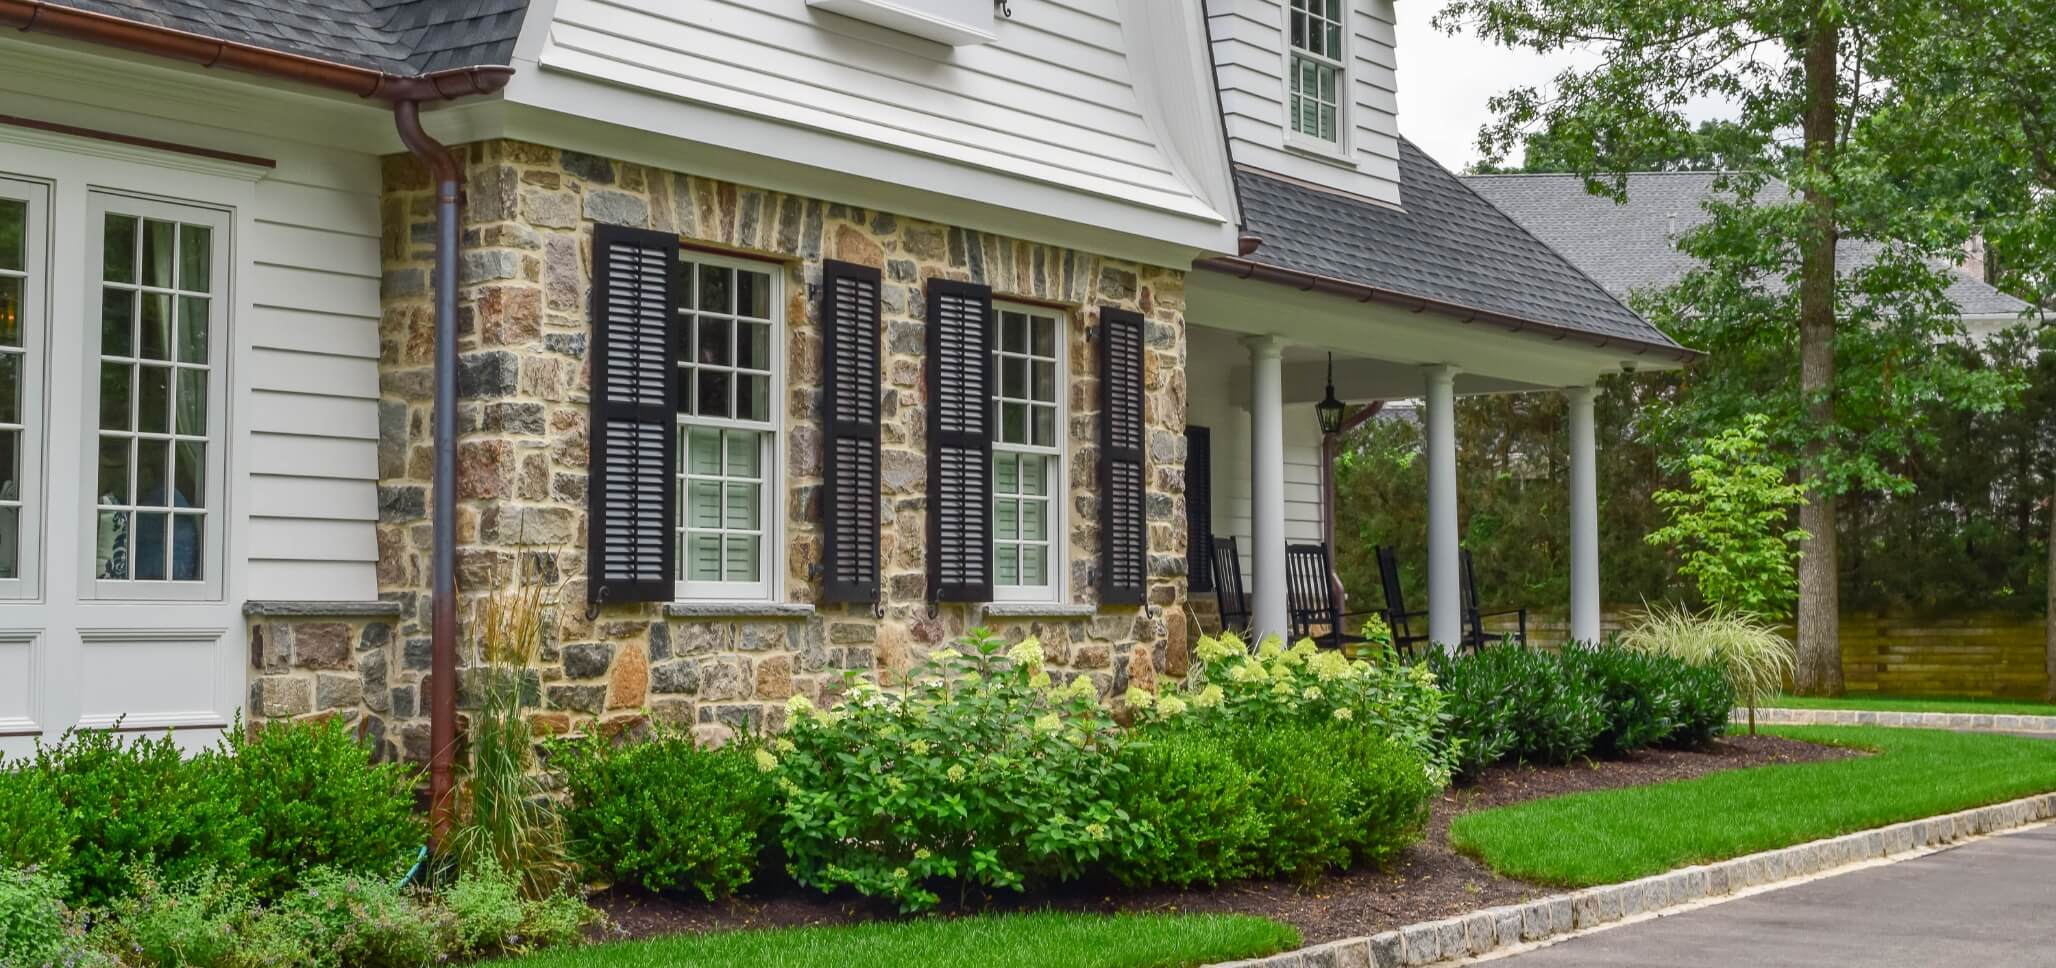
Thinking about giving your landscape a makeover this spring or summer? If so, you’ve likely considered working with paver stones.
Whether natural or manufactured, pavers create a sophisticated and upscale look for any property on a budget you can afford. It’s easy to find pavers that match up with your personal sense of style and that will compliment your home.
Best of all, pavers are simple to install and maintain. Because we’re committed to helping you achieve the landscape of your dreams, we’ve written this simple guide to instruct you on the basics of how to install paver stones.
The Importance of a Proper Installation
You may be wondering why you need to take the time to learn how to install paver stones to begin with – especially if you’re planning on a hiring a professional to do the work for you. Regardless of whether you’re handling the project on your own or hiring it out, it’s important that you understand what the installation process entails.
Knowing what to expect will ensure that the highest quality work is performed and that you’re completely satisfied with the completed look of your pavers. This will make a huge difference in property value and paver longevity.
We strongly suggest that you set aside a few moments to read through the following steps and discuss your project plans with a trusted professional prior to beginning any work.
How to Install Paver Stones: A Step by Step Guide
Step 1: Evaluate your property
Before you can start installing paver stones, you need to make sure that your property is ready to accommodate your project. It’s a good idea to call your utility provider and schedule an assessment of your property.
This will determine where any underground piping, cabling and other utilities may be located which could impact your ability to excavate. You might also consider working with a professional landscaper to assess the grade and drainage properties of your landscape.
Step 2: Plan your layout
After determining which areas are suitable for a paver stone installation, you’re ready to start creating the design and layout for your paver project.
Determine the shape and size of your driveway, walkway, patio or similar project. Be sure to consider how it will be used and the relative scale of your new project compared to other landscaping features.
Step 3: Mark the perimeter
Once you’ve settled on a layout inside your head and on paper, it’s time to actually mark the boundaries. Using stakes and twine or landscaping fabric, create a perimeter for the project. You might leave the perimeter there for a day or two to make sure you can live with the design.
Step 4: Choose your pavers
Now that you’re happy with the way the project area will look within the scope of your landscape, you’re ready to choose your pavers. Make sure you choose stones that will look good with other architectural and landscaping features.
If you’re hoping to create specific patterns, your options may be more restricted, but you’ll find pavers for all styles and needs.
Step 5: Excavate the project area
Depending on the project size, you may excavate the area with a shovel and wheelbarrow or with special equipment. Consult an expert for the depth requirements for your project.
Step 6: Prepare the base
After you’ve achieved the desired and recommended depth, be sure to take the time to clear away any roots, large rocks or boulders, sticks, plants and other debris from the bottom and sides of the crevasse. Tamp the soil down firmly. Next, apply a layer of landscaping fabric to prevent vegetation from growing up through the pavers.
Finally, pour your sub base and base materials, such as gravel and quarry process into the excavated area. Carefully compact each layer to create a firm base for your pavers.
Step 7: Create a border
You will begin the process of installing paver stones by creating a border around the outside edge. Your edging material may be the same pavers you plan to use for the entire project or can be something larger and more defined.
Creating this border will help you to keep the sand in place throughout the installation process and will establish a guide for laying out each paver with accuracy and ease.
Step 8: Pour the sand
Sand is invaluable when it comes to installing paver stones. The gritty material helps to keep the pavers in place.
It’s wise to consult with an expert prior to purchasing and pouring sand in order to determine how much you’ll need for your project and how deep of a layer will be required. Once poured, be sure to rake over the sand to ensure that it’s evenly distributed and level throughout.
Step 9: Lay the pavers
At last we are ready to talk about how to install paver stones. We strongly urge you, when going about this process, to start from the outside edges and then work your way in towards the center.
Make sure that each paver is firmly pressed into the sand to ensure that it holds its place. You’ll also need to take the time to make sure that each paver is evenly spaced as this will make a difference in esthetics.
Be sure to follow any instructions or guidelines when trying to create specific shapes and patterns with the stones.
Step 10: Introduce polymeric sand
Finally, it’s time to introduce polymeric sand to the joints of the pavers in order to keep them in place. Pour the sand over the paver stones and use a broom to push the material into the joints until they are full.
Spray over the area with water until the sand is saturated. When wet, the sand will harden lock the stones together. Sweep away any remaining stand or debris when you’re done.
Paver Stone Maintenance
After you’ve taken the time to carefully learn how to install paver stones and have gone through with the process, it’s important that you protect your investment by carefully maintaining the pavers. First, be sure to seal the pavers after initial installation and once every other year thereafter.
We recommend that you sweep over the paving stones once a week in order to remove dirt, dust, leaves, grass and other debris. Any stains should be treated immediately. Stains can typically be removed with a solution of soft detergent diluted in water.
Finally, be sure to consult with a trusted stone specialist or paving stone manufacturer to determine whether or not it’s safe to use rock salt and other ice melting materials on the pavers during the winter months.
Where to Buy Paver Stones in NJ
Braen Supply offers a massive inventory of natural stone and manufactured paver stones. Customers from all over NJ and its neighboring areas trust us with all of their stone paver needs. All of our materials are manufactured of the highest quality and are available at competitive, wholesale prices.
Our expert staff can provide you with further tips on how to install paver stones and can answer any questions that you may have. Our paver stones can be picked up or bulk delivered to areas throughout NJ, NY, PA and CT.


