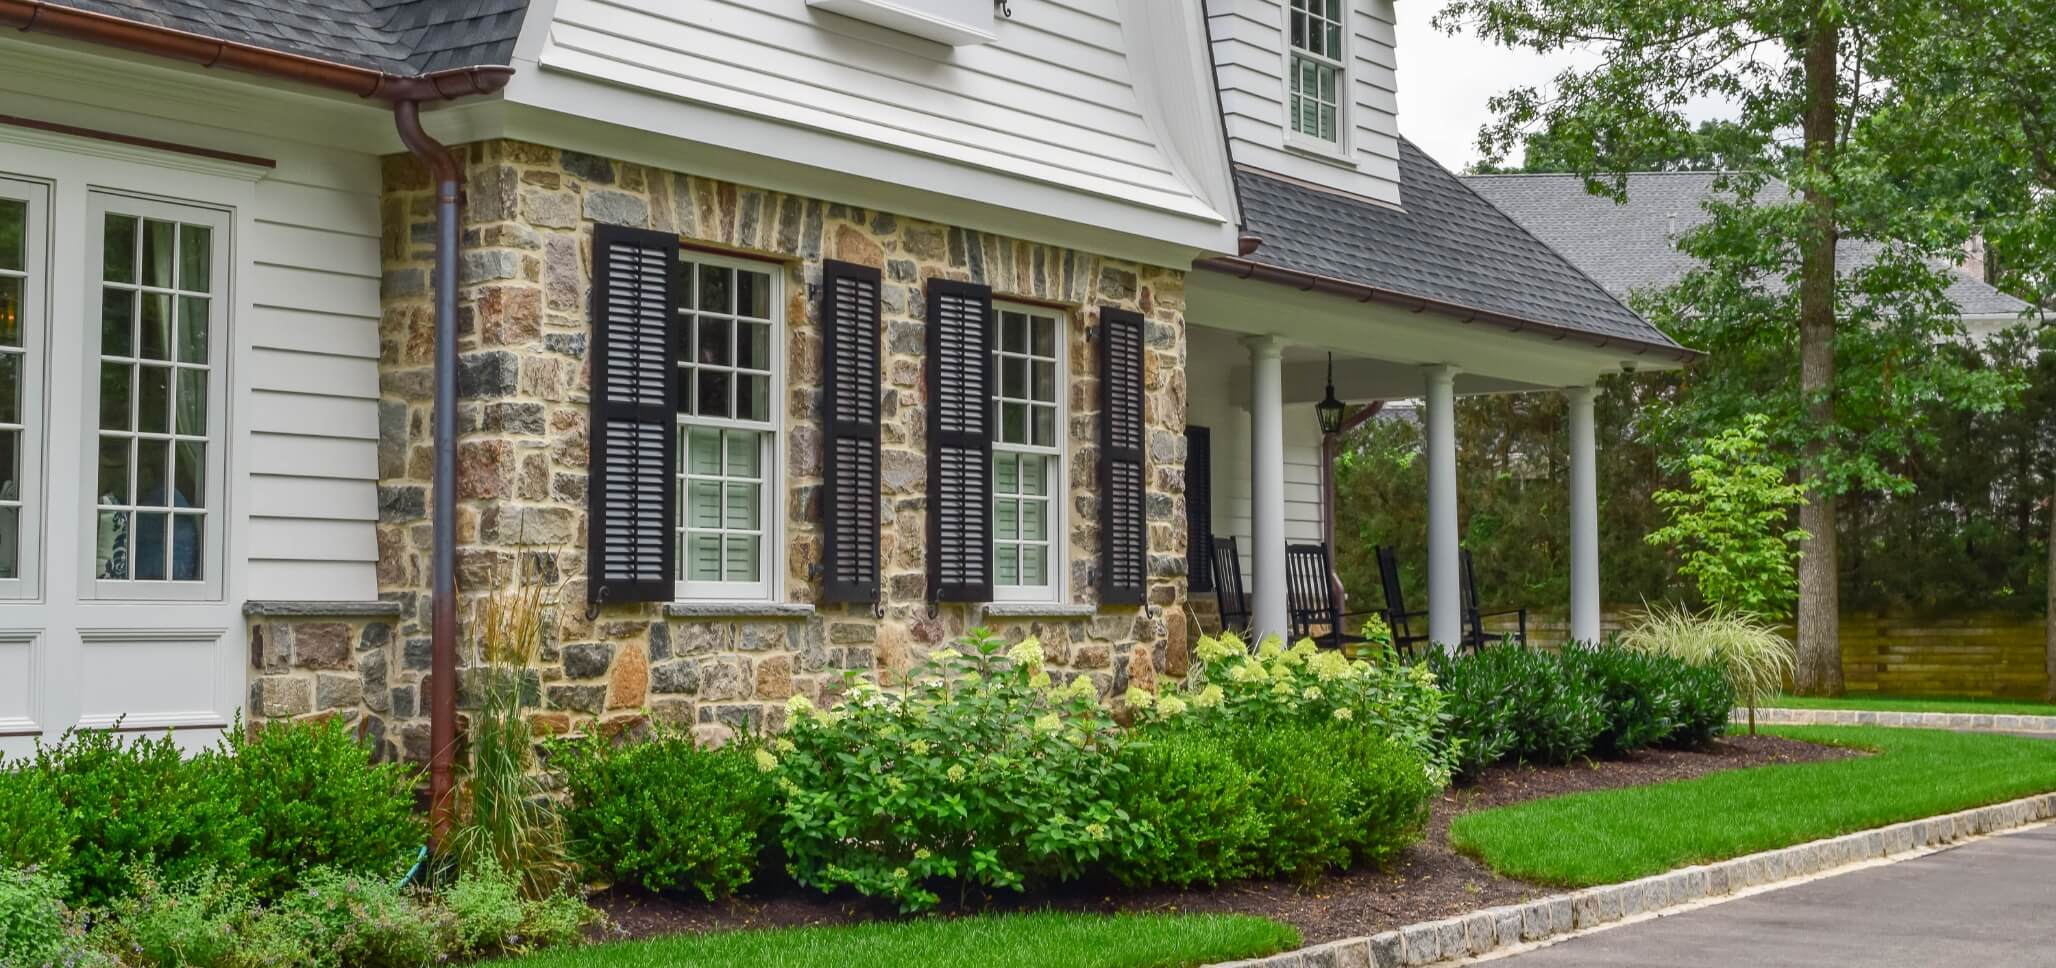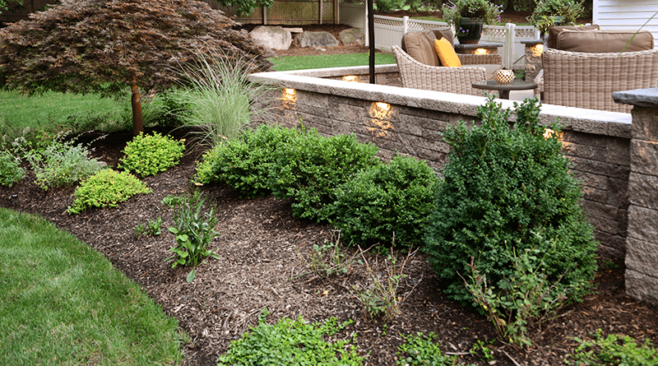
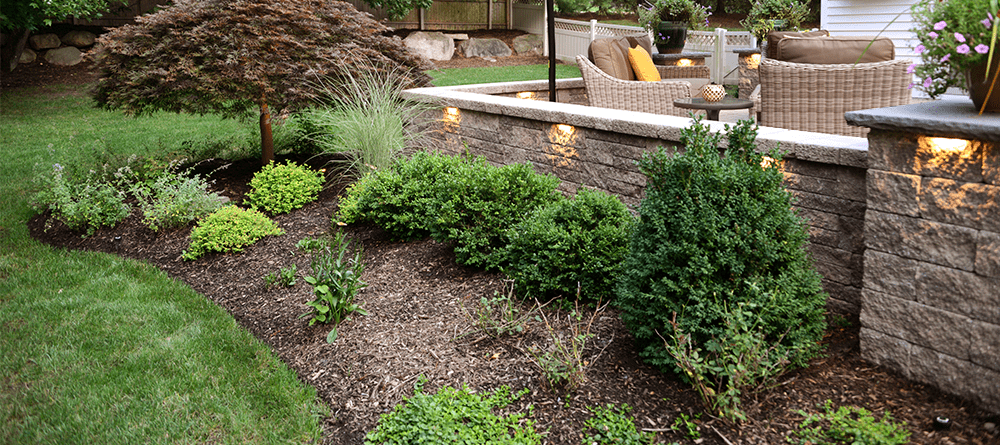
If you’re searching for a way to vastly improve the appearance of your residential or commercial property, adding a new flower bed with cedar mulch or completely redoing an existing one will definitely do the trick. This type of landscaping project will result in a warm, inviting atmosphere while improving the value of your property and its overall curb appeal. This makes it a project that every homeowner or business owner can get behind.
Before you undertake a cedar mulch project, however, it’s important that you fully understand what will be involved from beginning to end. that way, you won’t run into any bumps along the way or make a mistake that ends up costing you more money than it should. What we’ll be covering here today are the steps that you’ll need to follow in order to prepare your home or business for the installation of your future flower bed.
Step #1: Decide on Design Specifics
The first thing you want to do before you begin your flower bed project is probably rather obvious. You need to decide on exactly what you’d like your flower bed design to look like once all is said and done. Make a simple sketch indicating where on the property everything will be once the project is done so you’ll have a good idea of what you want the result to look like. If you’re not an artist, don’t worry. Even just a rudimentary rendition of its appearance is perfectly fine. But, feel free to enlist the assistance of someone who has already completed such a project for advice.
Step #2: Prepare for a Clean Slate
This step is more about preparing your mind than it is about preparing your property. You need to be open to the possibility of a complete overhaul of your existing landscape so that you can properly implement a new landscape involving flower beds. This could mean removing existing plants or flowers to make way for new ones, or that the entire area is going to be different once the project is finished. Basically, you want to think of this as your opportunity to create a clean slate from which to build upon.
Step #3: Yank Out the Weeds
Nearly any landscaping project you’re going to undertake will involve the need to yank weeds out of your yard. You’ll want to clear out every weed that you see, in addition to many that you may not see. Larger weeds can be pulled out by hand by basically gripping the base firmly and pulling upwards. You also need to get rid of all of the roots, so you should definitely pick up a garden trowel if you don’t already have one and use that to dig up anything that you can’t pull out by hand. And, finally, be sure to remove any leaves from the area, as they will often promote further weed growth.
Step #4: Remove Existing Plants
Once all the weeds have been removed, it’s time to turn your attention to the existing plants in the area of your property where the flower bed will be placed or within your existing flower bed. You have two choices here. The first choice is to remove all of the existing plants and basically start over with brand new ones. The second choice is to dig up any plants that you want to remain in the area, keep those potted elsewhere until after the project is almost finished, and then replant them. After everything has been removed, the last part of this step is to spread out some weed killer atop the soil to take care of anything that’s left over.
Step #5: Prepare the Ground
Now that everything that you want to have removed from your yard up until this point is gone, it’s time to turn to the preparation of the ground for your new plantings. To fully prepare the ground for your new flower bed, you’ll need to remove all rocks and gravel from the area. If you have a lot of rocks on your property, you’ll want to consider the use of a rototiller to take care of them. From there, rake through the soil of the entire area in order to prepare your property for composting.
Step #6: Add a Layer of Compost
As most everyone knows, composting is an essential part of growing and maintaining a successful, healthy in flower bed. Whether you choose to use compost, leaf mold, peat, or manure for your composting needs, the basic technique is the same. First, cover the area for your new flower bed with 2-3 inches of your composting material. Then, use a shovel to thoroughly turn the compost into the soil. This is one of the easiest steps to follow, but also one of the most important in order to have a successful flower bed.
Step #7: Remove Yard Waste
Whenever you take on any kind of landscaping project, you’re going to make a bit of a mess during the preparation phase. So, once you’ve completed the steps above, the last task on your list will be to clean up any yard waste that resulted from the preparation. This includes any bits of grass, compost that got sprinkled elsewhere, leaves that have settled in the area since you started the project, and any excess soil that is laying around.
Purchasing Cedar Mulch for your Flower Bed in NJ
Braen Supply has been serving NJ and the surrounding area with expertise and excellence for nearly 20 years. We have proven ourselves as the best supplier of landscaping materials in the area, which means you can count on us to come through for you every single time, regardless of the project. Either come in and speak with our staff or call them on the phone and they’ll provide you with all the information you need. We offer competitive prices and our materials can either be picked up at our New Jersey location or delivered in bulk throughout parts of NJ, NY, CT, and PA.