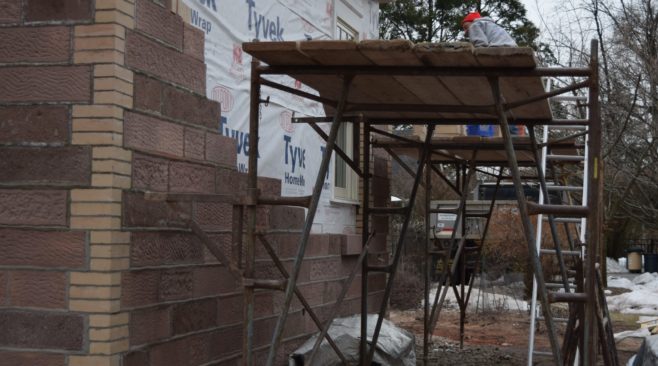
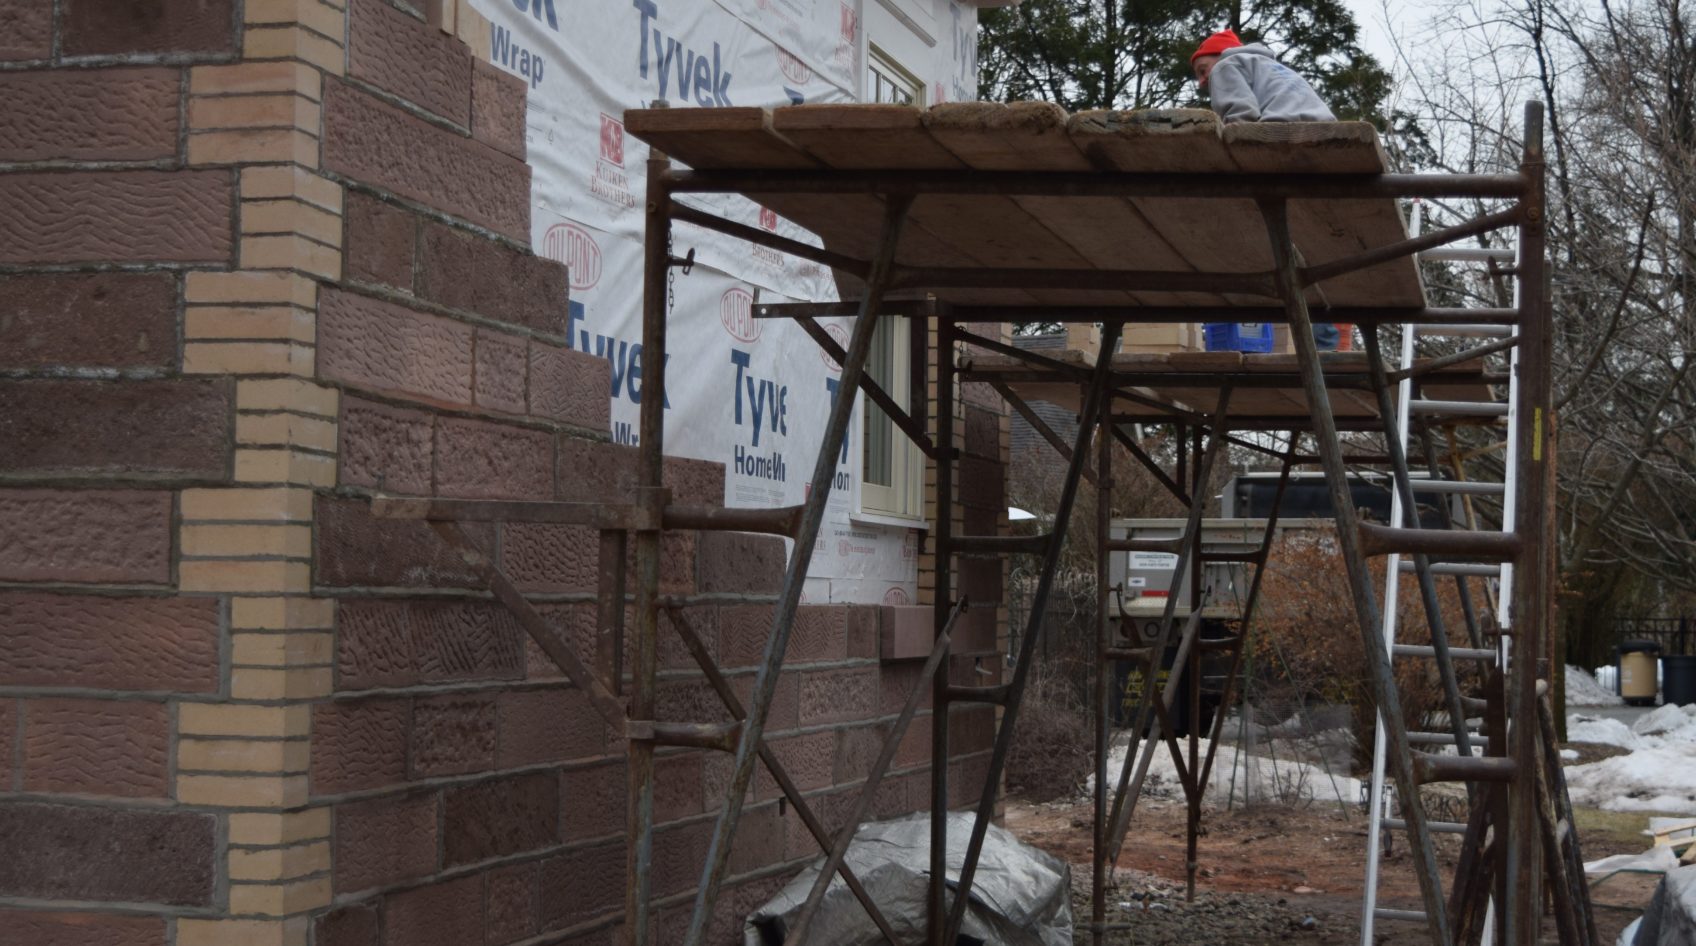
Since the earliest days of man, stone has been among the most sought-after building materials. In addition to looking beautiful, stone is extremely strong, durable, and weather resistant. It’s no wonder, then, that so many NJ homeowners are still itching to use stone in the design of their homes. While constructing a home entirely of stone is not often practical or affordable, though, there’s no need to lose heart. Modern stone veneer materials are just as attractive, tough, long-lasting, and low maintenance as standard stone. Contractors who understand this truth will be able to offer everything their customer bases crave in terms of style, durability, and cost-effectiveness. Best of all, stone veneers are easy to install – so long as you’ve got the right tools in your box. Here’s a look at five of the essential tools that you should be using to install veneer stone in NJ.
The Importance of Having the Right Tools On Hand
Think that choosing high-quality stone veneer materials and mortar are enough to ensure that your veneer project goes off without a hitch? Think again. A contractor is really only as good as the tools that he (or she) employs. No matter how great your materials are, they won’t be able to live up to their full potential unless you take the time to ensure that the materials are applied using the right tools. You’ll find that working with veneer stone is much easier and that your finished project looks (and functions) far better when you work with the following tools:
Tool #1 – Grinder
Any contractor working with veneer stone will absolutely need to have access to a quality, reliable grinder. For most purposes, you will be best served by selecting a 9” or 4” grinder with a blade suitable for cutting concrete, such as a diamond blade. Because diamonds are used as an abrasive, it’s easy for these blades to successfully cut through veneer stone in order to allow you to cut off any loose ends that would otherwise prevent you from being able to properly position the veneers along a wall or other surface.
Tool #2 – Notched Trowel
The simplest and most effective way for a contractor to install veneer stone is to make use of a good notched trowel – or two. Seasoned contractors often swear by a two trowel system in order to speed up the process of applying mortar to the wall. The best way to do this is to load up a mud board about 16” off the ground and to situate it where it’s in easy reach of you and your team. Use a London trowel to scoop up mortar with one hand and transfer it to a second trowel in your other hand. In this way, you can apply mortar to the surface non-stop, allowing for a faster and smoother process.
Tool #3- Sponges
Sponges might not necessarily seem like a “tool”, but they happen to be one of the most important tools that a contractor can have on hand when installing veneer stone. Working with stone veneers and mortar can be extremely messy. This creates a much bigger problem than just getting a bit of mortar smeared all over your clothes or stuck to your skin. Mortar that oozes through the cracks and spaces between your veneer stone and is allowed to harden will be extremely unsightly, can reduce the integrity of your project, and will be very difficult to remove. It’s best to have plenty of sponges on hand to wipe away excess mortar and allow for a clean, polished job.
Tool #4 – Tile Spacers
As a contractor, your primary goal is to finish a high-quality job that will leave your clients fully satisfied and happy with the work. This means that one of your main objectives should be to ensure that the veneer stone you install looks absolutely perfect. Trying to “eyeball” the design and spacing of the grout between each individual stone is a huge mistake that could end up compromising the entire job. Having reliable tile wedges or spacers on hand will help you to ensure that everything turns out perfectly. These wedges will ensure that spaces between stones are uniform, and will create a look of cohesion throughout the entire project.
Tool #5 – Piping Gun or Grout Bag
Grout is what allows a contractor to “seal the deal” and complete their veneer stone project. Quality grout helps to hold the veneer stones in place over time while also adding to the overall aesthetic of the wall, or similar surface. Of course, in order to be successful, you’ll need to have the right tool for applying grout smoothly and evenly between stones. Depending on your preferences, either a piping gun or a piping bag can be very effective for this purpose, although grout piping bags are generally able to hold more material than a typical grout gun. In order to ensure that the grout keeps moving smoothly through the bag or gun, you should make a point of rinsing out your tool after every third round.
Installing Veneer Stone in NJ
If you’ve been hired to complete a stone veneer project in NJ or its surrounding areas, Braen Supply is here to help you get the job done right. As a leading supplier of beautiful, high-quality veneer stone, you’ll find exactly what you (and your clients) are looking for. We are also happy to help connect you with the tools you need to complete the work efficiently and effectively. Our massive inventory of veneer stone is competitively priced and is always available at wholesale rates. Feel free to check out our convenient NJ locations in order to take a look at our inventory, or to address any of your questions with one of our experts. Our veneer stone is available for pickup or can be bulk delivered to a number of locations throughout parts of NJ, NY, NYC and limited parts of PA, and CT. Give us a call or stop by to learn more.


