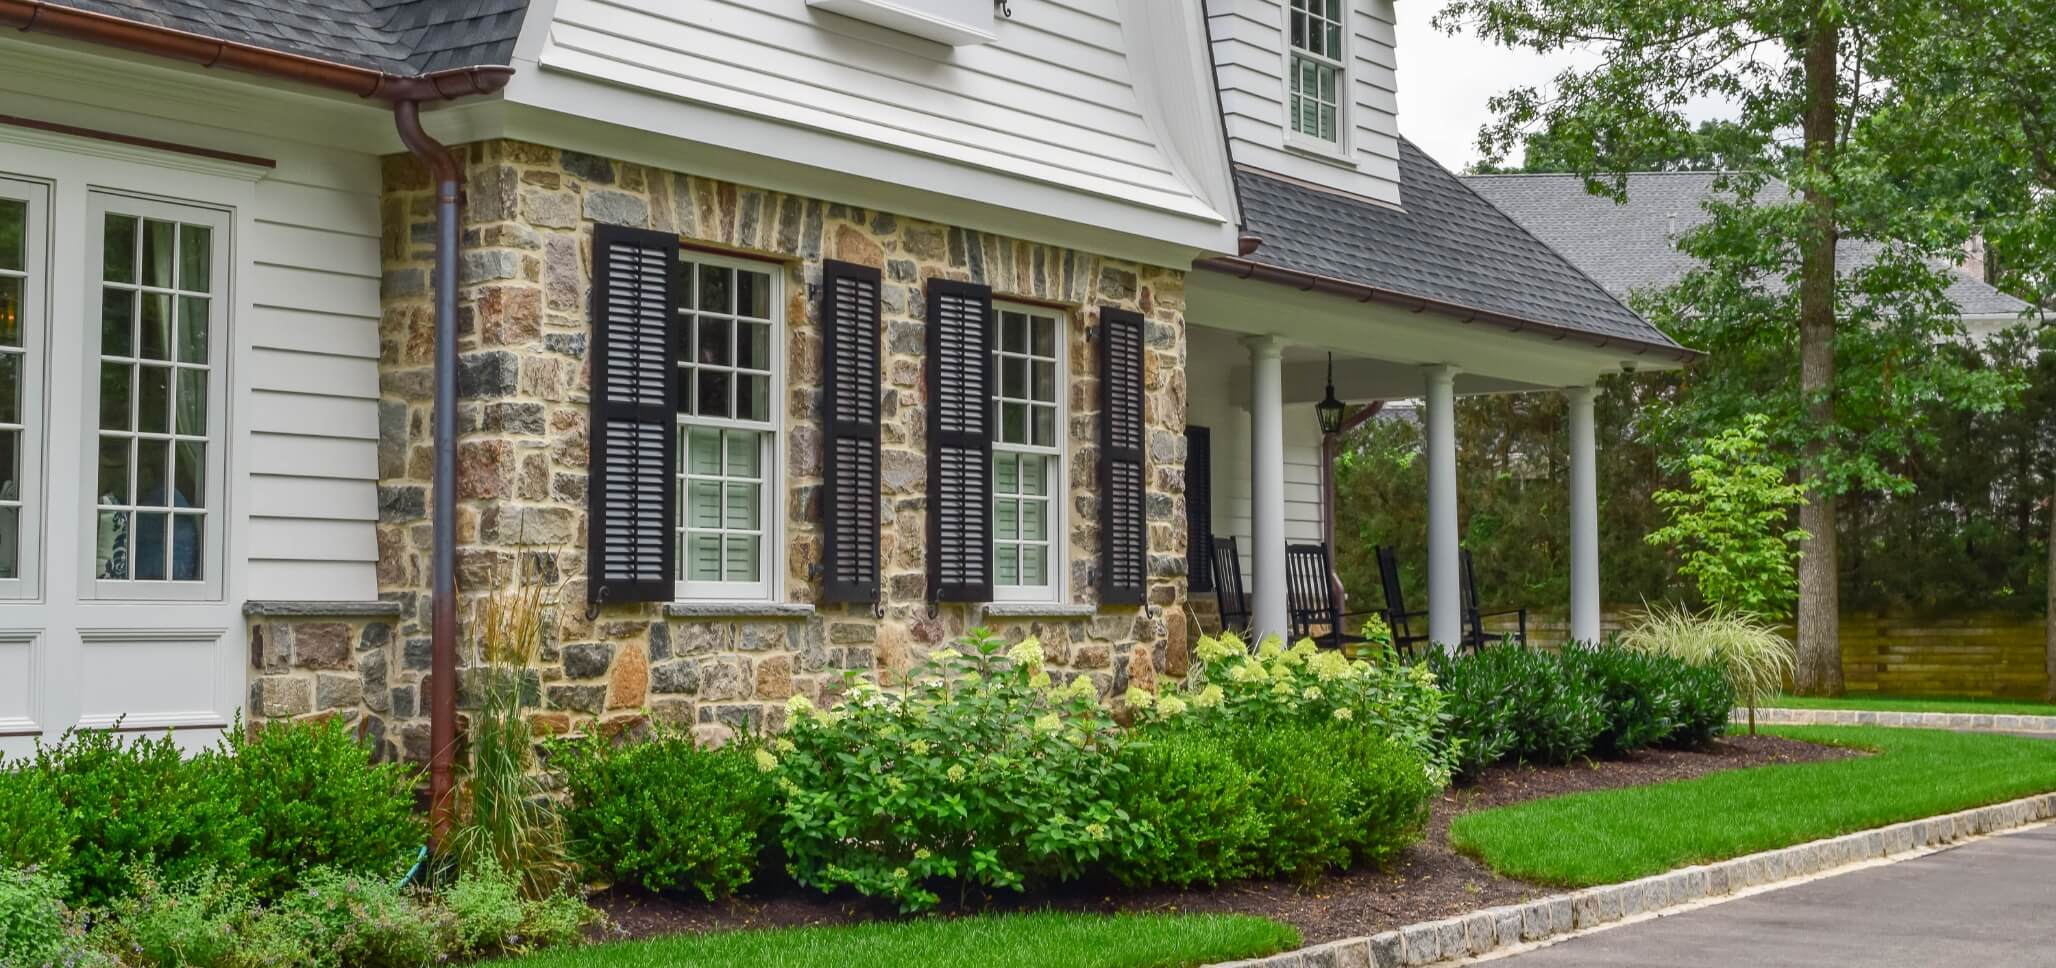
If you’re looking to clean up your property and give it a noticeable boost in curb appeal, installing a new flower bed with cedar mulch—or reworking an old one—is a solid move. It’s one of those projects that doesn’t just look good when it’s done, but actually adds real value to your home or business.
That said, like most things in landscaping, the outcome comes down to how well you prepare. Rush the prep, and you’ll end up redoing work or spending more than you planned. Do it right the first time, and everything that comes after gets easier. Here’s how I’d walk through it.
Step #1: Nail Down Your Layout
Before you touch the ground, figure out what you’re building. You don’t need a perfect drawing—just sketch out where the bed goes, how big it is, and what you want planted. Having a clear plan upfront keeps you from making changes halfway through, which is where most projects start going sideways.
Step #2: Commit to a Fresh Start
This is more of a mindset thing, but it matters. If you’re reworking an existing area, be ready to tear it back if needed. Trying to “work around” old material or tired plantings usually leads to a patchwork result. Sometimes the cleanest outcome comes from starting over.
Step #3: Yank Out the Weeds (All of Them)
Don’t just grab what’s visible—get the roots too. Pull what you can by hand, and use a trowel for anything stubborn. If roots stay in the ground, they’ll come right back. Also clear leaves and debris while you’re at it—they only help weeds return faster.
Step #4: Remove Existing Plants
At this point, decide what stays and what goes.
- If you’re starting fresh, remove everything.
- If there are plants worth keeping, dig them up and set them aside to replant later.
Once the area’s cleared, a light application of weed control can help knock out anything you missed.
Step #5: Prepare the Soil
Now you’re working with a blank canvas. Remove rocks, leftover roots, and any debris in the soil. If the ground’s rough or packed with stone, a rototiller can save you a lot of time. Then rake everything out so the surface is even and ready for the next step.
Step #6: Add a Layer of Compost
This is one step you don’t skip. Good soil makes everything easier long-term.
Spread about 2–3 inches of compost (or similar material like leaf mold or manure) over the area, then mix it into the existing soil. It improves drainage, feeds your plants, and helps everything establish faster.
Step #7: Clean Up the Site
Before you move on, take a few minutes to clean up. Get rid of leftover soil piles, stray compost, and any debris from the prep work. A clean site makes installation smoother and helps you see the final layout clearly.
Purchasing Cedar Mulch for your Flower Bed in NJ