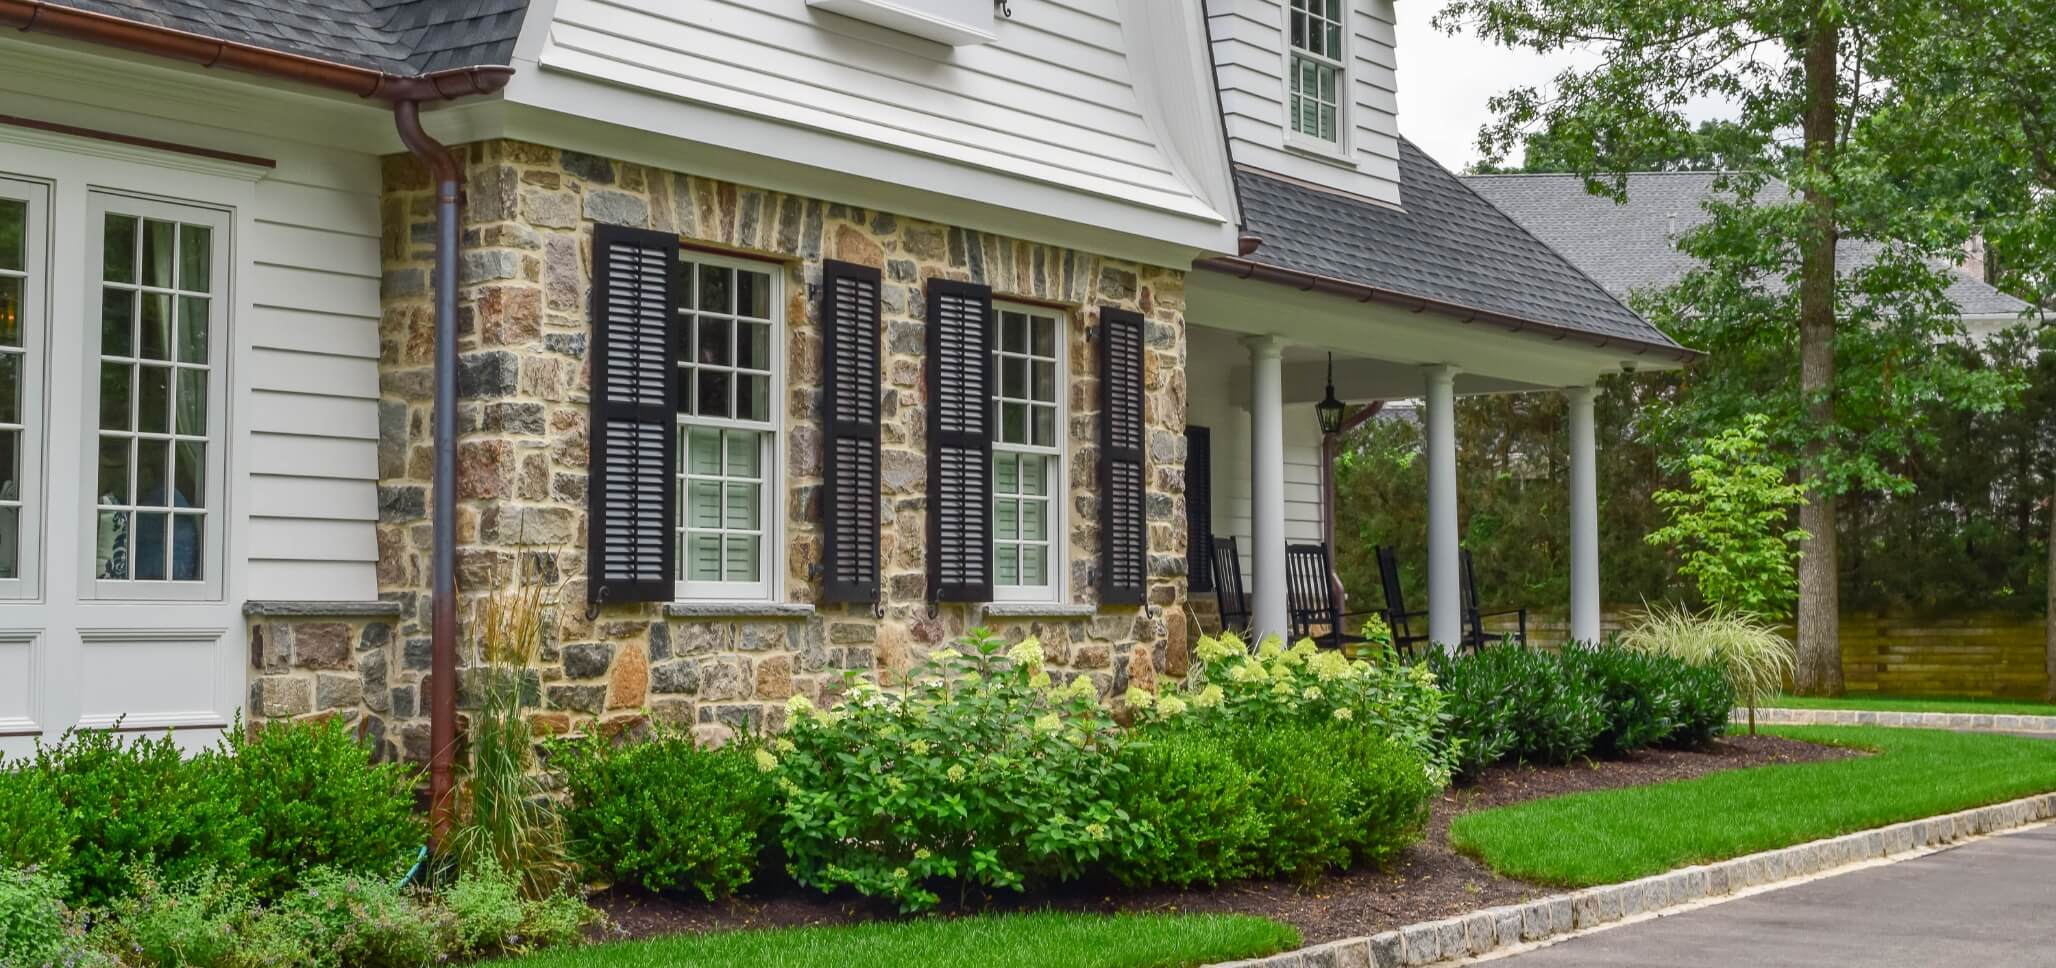
There are a ton of different strategies that a homeowner can use in order to enhance the appearance of their home. Although you can always invest in the installation of stone siding, a complete revamp of your swimming pool deck, or a wide variety of other complicated projects, adding garden stones to either an existing or newly designed landscaping project is a simple way to change the overall appearance of your home’s exterior.
In fact, the installation of garden stones, which can be implemented in a variety of locations and projects, is one of the easiest and least expensive ways to give new life to your home’s yard. Let’s take a look at a few advantages of making over your yard with garden stones and then follow that up with five easy steps that will be involved.
Advantages of Garden Stones
Before we dive into the steps required to make over your yard with garden stones, we’re first going to briefly cover some of the advantages of using garden stones and your landscaping project:
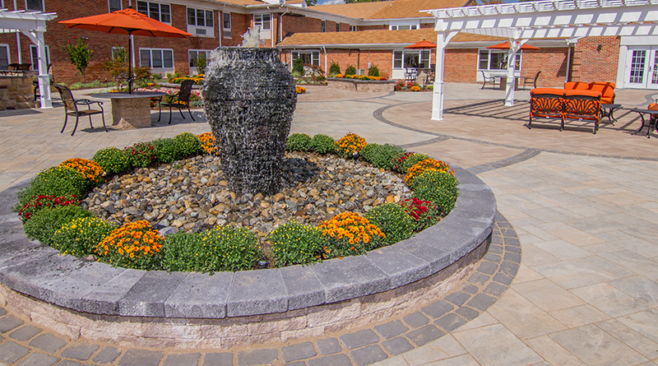
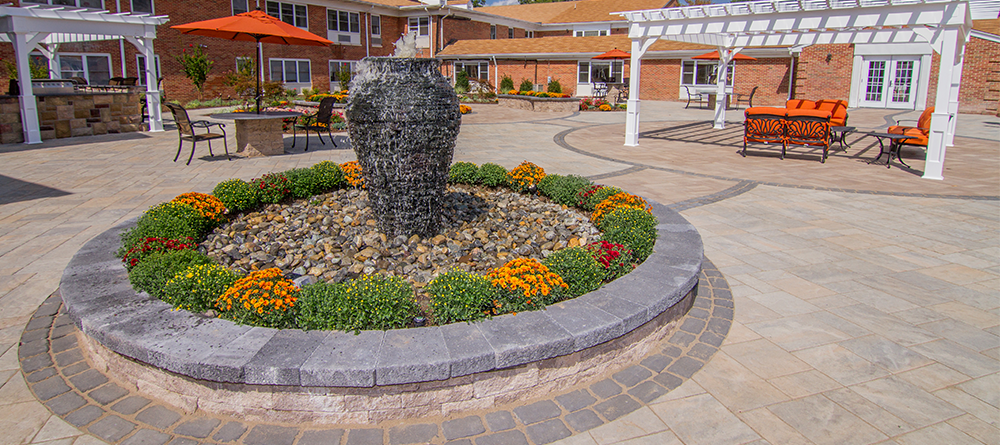
Gorgeous Appearance
First and foremost, garden stones provide an attractive appearance for your landscape, whether you choose muted colors such as black and white or prefer brightly colored stones. And, of course, there are plenty of different types to choose from such as river rock, Mexican Beach Pebbles and pea gravel.
Low-Maintenance
One of the greatest things about the use of garden stones in your yard is that they are extremely low maintenance. Sure, you may occasionally find a rock that has been kicked out of its designated area or picked up and tossed out by a child, but that doesn’t compare to the constant maintenance needed for grass and other vegetation.
Saves Money
Watering your lawn may be a tradition for millions of homeowners, but it definitely takes time and effort to do it properly. Plus, to keep it green all year round, it will often take a great deal of water. With garden stones, you’ll cut down or completely eliminate your need to water the lawn, which means that you’ll save money each month on your utility bills.
Won’t Decompose
Another great thing about garden stones is that, unlike materials such as mulch and wood chips, the stones won’t break down and decompose over time. This means that you won’t have to replace the materials as they become unusable, which will save you both time and money.
Won’t Attract Pests
Pests such as insects and rodents can become a real nuisance in your yard. Materials such as mulch and wood chips attract these critters when they decompose, which obviously won’t be a problem with garden stones.
Five Steps to Using Garden Stones
Now that you understand the advantages of using garden stones in your yard, let’s take a look at the seven steps you’ll need to follow for this landscaping project:
Kill Grass and Weeds
The first thing you’re going to want to do is get rid of all of the grass and weeds in the area where the garden stones will be used for your new landscape. You’ll want to pull or dig up as much as you possibly can and then apply herbicide to the ground in order to stunt further growth.
Dig into the Soil and Smooth It Out
Now that you’ve taken care of the grass and weeds, you’ll need to dig four inches down into the soil. This is done because you don’t want your rocks to sit on any type of high ground and then wash away in a storm. If the ground is uneven, simply dig deeper in certain areas to level it out. Once this is done, smooth out the soil with a steel rake and then use a hand tamper to compact it.
Lay Down Crushed Stone Pack
Next, you’ll want to pick up some crushed stone pack, which is a mixture of stone dust and small crushed stones. Lay approximately 2 1/2 inches of the stone pack over the compacted soil, and then use the steel rake to make it even. After that is done, spray the pack with water to dampen it, compact it to two inches thick, and use your hand tamper to make a hard, even surface.
Lay Down Landscape Fabric
In order to keep any straggler weeds from growing, you need to lay down landscape fabric. If your yard has a curve, simply cut the fabric along the inside and outside edges, overlap it at the cuts of the inside curve and then let it fan out to the outside curve. Lastly, tightly secure the fabric with landscaping spikes.
Lay Edging Around the Yard
The next step is to lay edging around your yard, which is done by following the landscape fabric edges. This will provide additional protection by enforcing the area where you’ll be laying the garden stones.
Pour In the Desired Rocks
At long last, you’ve reached the point where you will actually lay down your garden stones. For this step, you’ll want to completely cover the landscape fabric, but leave approximately one-half inch of edging at the top so that the rocks don’t spill over. And, once again, grab your trusty rake and even out the surface of the stones.
Outline with Larger Stones
In order to further protect the integrity of your brand new garden stone landscape, lay down some large decorative stones and push them slightly into the smaller stone. Then, rake over the area once more and you’re all finished. Congratulations on your beautiful new landscape!
Purchasing Garden Stones in New Jersey
At some point while making your plans to reinvigorate your yard with garden stones, you’re going to need a supplier that you can count on. Braen Supply has become a premier provider of landscaping materials and landscape design, and can help you make your next project a success. Our materials are competitively priced and can either be picked up at our local New Jersey facility or delivered in bulk to most areas throughout NJ and parts of NY, CT, and PA.
![]()