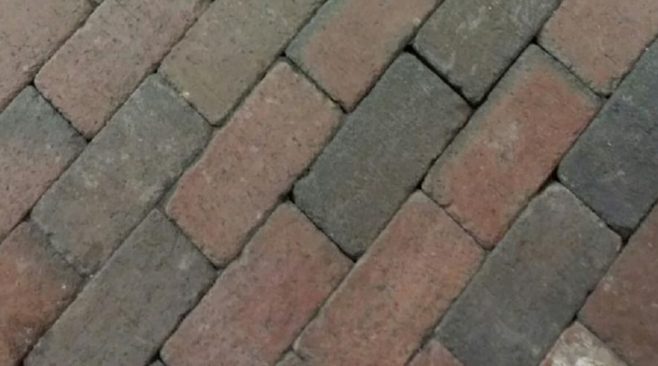
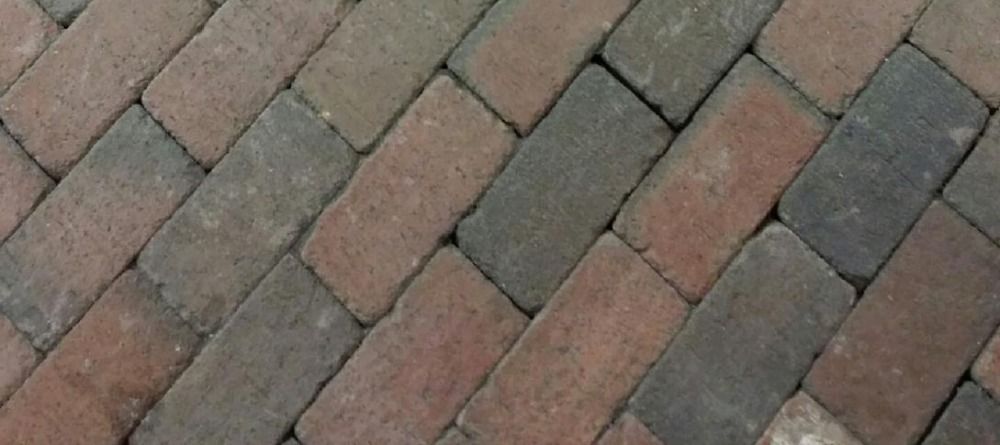
The classic beauty and elegance of a brick paver patio is unmatched.
Each year, numerous NJ homeowners make the decision to upgrade their home’s property by installing such a patio of their very own and reap the benefits.
Even a simple brick paver outdoor living space can boost property value and provide a warm, cozy place for loved ones to gather for generations – with very little maintenance required.
Before you can take advantage of your patio, though, you first need to install it.
Whether you’ll be handling the task on your own or hiring a professional to do the work, it’s in your best interest to know how to lay brick pavers properly. Read on to brush up on your knowledge.
How to Lay Brick Pavers 101: Your Complete Guide
Required Materials and Tools:
- Brick Pavers
- Sand
- Crushed Stone/Gravel
- Landscaping Spikes
- Plastic Edging
- Rake
- Shovel/Spade
- Tamping Tool
- Mallet
- Push Broom
Step 1: Select the Right Brick Pavers
Brick pavers are quite popular throughout the northeast. Because these types of paving stones were used back in the earliest colonial days, many homeowners enjoy their rich heritage and the timeless sophistication they can bring to any property. This doesn’t mean that all brick pavers are equal in their quality, though.
It’s important that you take steps to ensure that you choose your materials wisely. First, start with a reputable supplier that is known for manufacturing and selling the best and most long-lasting pavers. Never hesitate to ask about the manufacturing processes used, or to request reviews from satisfied customers.
Make sure that the pavers are engineered to withstand the elements and will not chip or fade easily. Finally, take care when selecting the right colors and shapes to suit your design and layout requirements.
Step 2: Mark Off the Perimeter
Now that your materials have been selected, we can really get into how to lay brick pavers. The very first part of this process will involve determining where the patio will be installed, and how you wish it to be designed and laid out. Be sure to work with a partner to very carefully mark off the perimeter of the project area in order to make sure that the lines remain straight and equidistant from one another.
Use stakes or similar landscaping materials in order to clearly define the boundaries of your new brick paver patio. You might take a day or two to “sit” on the layout and make sure that it really works for you and your property before moving forward with the installation process.
Step 3: Prep the Base
Next, it’s time to start the excavation process. Although it’s certainly possible to do this through using a shovel or space and some good ol’ fashioned elbow grease, some of our customers prefer to rent special tools and equipment. In either case, you’ll need to excavate the area within the stakes to a depth of 8″.
Be sure to remove any roots, sticks, rocks or other debris that may create an uneven base, and compact the dirt. Once the base is prepared, pour 2″ of gravel and tamp it down for an extremely compact and reliable base. Repeat this process once. Use a level to check the trench bottom before proceeding.
Step 4: Install Edging
Once the base is prepared, you’ll need to apply an edging material that will serve the purpose of holding the brick pavers in place. Take care to cut the landscaping edging with precision so that it fits the perimeter of the patio area. You can keep the edging materials in place by hammering them down with landscaping spikes and a rubber mallet.
Step 5: Apply Sand
Now that you have a stable and reliable base in place for your new brick paver patio, you’re ready to pour some sand over the area. The purpose of the sand is to keep the pavers in place after they are laid down. Granular sand offers a great deal of traction and is perfect for this.
You’ll only require about a 1″ layer of either concrete or mason sand. You should rake over the surface in order to ensure that it’s evenly distributed throughout the project area.
Step 6: Lay Pavers
Finally, we’re ready to take a closer look at how to lay brick pavers. When doing so, you’ll want to start working at the edging border of the patio area and work your way inward. You will need to lay the pavers down in the sand and use a rubber mallet in order to tap the pavers into place.
This will help the brick to bind to the sand beneath and hold its place. You’ll need to take care to follow any plans that you had for layouts and designs that require specific patterns and lay down the bricks accordingly. In the event that certain bricks need to be cut to fit a specific shape, you may wish to seek the assistance of a professional.
Step 7: Fill the Joints
Apply a thin layer of sand across the entire surface of the patio. Using a broom, work the sand into the gaps between the brick pavers. You might consider using polymeric sand for this purpose, as it is designed with this type of application in mind. Add water in order to help the sand to settle between the joints. Repeat until the joints are entirely filled.
Step 8: Clean Up and Enjoy
Take a broom and dust off the surface of your newly installed brick paver patio. Once all of the excess sand and material has been removed, you are free to start enjoying your outdoor living space!
Care & Maintenance
If you hope to get the most use and enjoyment out of your patio, you’ll need to know more than simply how to lay brick pavers – you’ll need to be able to properly care for them. Fortunately, brick pavers don’t require a whole lot of maintenance in order to look spectacular and perform as expected.
We strongly recommend that homeowners seal coat their pavers after the initial installation, and continue to re-seal the patio every 2-3 years. Beyond this, you should sweep the surface of your patio regularly to remove any dirt, leaves, grass or other debris.
You might also hose down the surface of the patio, but avoid using high pressure streams of water or directing water between the joints, as this can disrupt the sand. In the event that one or more of your brick pavers become stained, you should promptly address the issue. Using a mild detergent diluted in water, gently scrub the affected area with a soft bristled brush.
For more expert tips on how to lay brick pavers or further landscaping advice, be sure to reach out to the experts at Braen Supply. Our team is knowledgeable and passionate about helping customers, like yourself, to complete successful projects that will last for a lifetime. We always recommend speaking and consulting with a contractor before laying pavers, since you may need help acquiring or using the heavy machinery, base material and other necessary elements that are involved with installation.
We’re happy to help you select the right materials, determine how much you’ll need for the job and provide you with installation and maintenance tips. Our brick pavers are available at competitive wholesale prices and can be picked up or bulk delivered to locations throughout NJ, NY, PA and CT.


