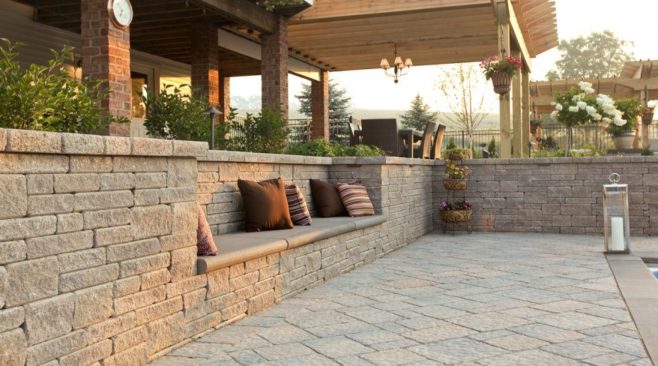
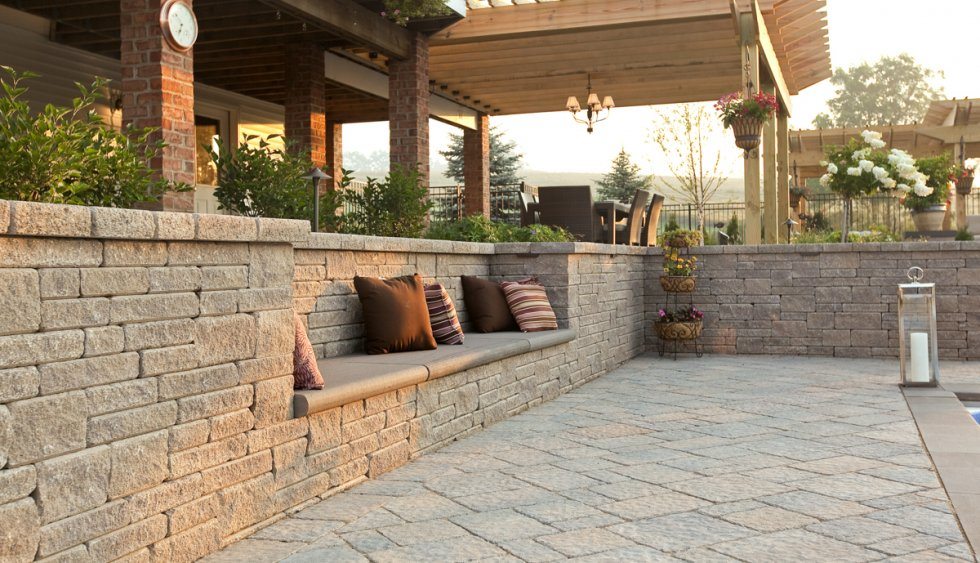
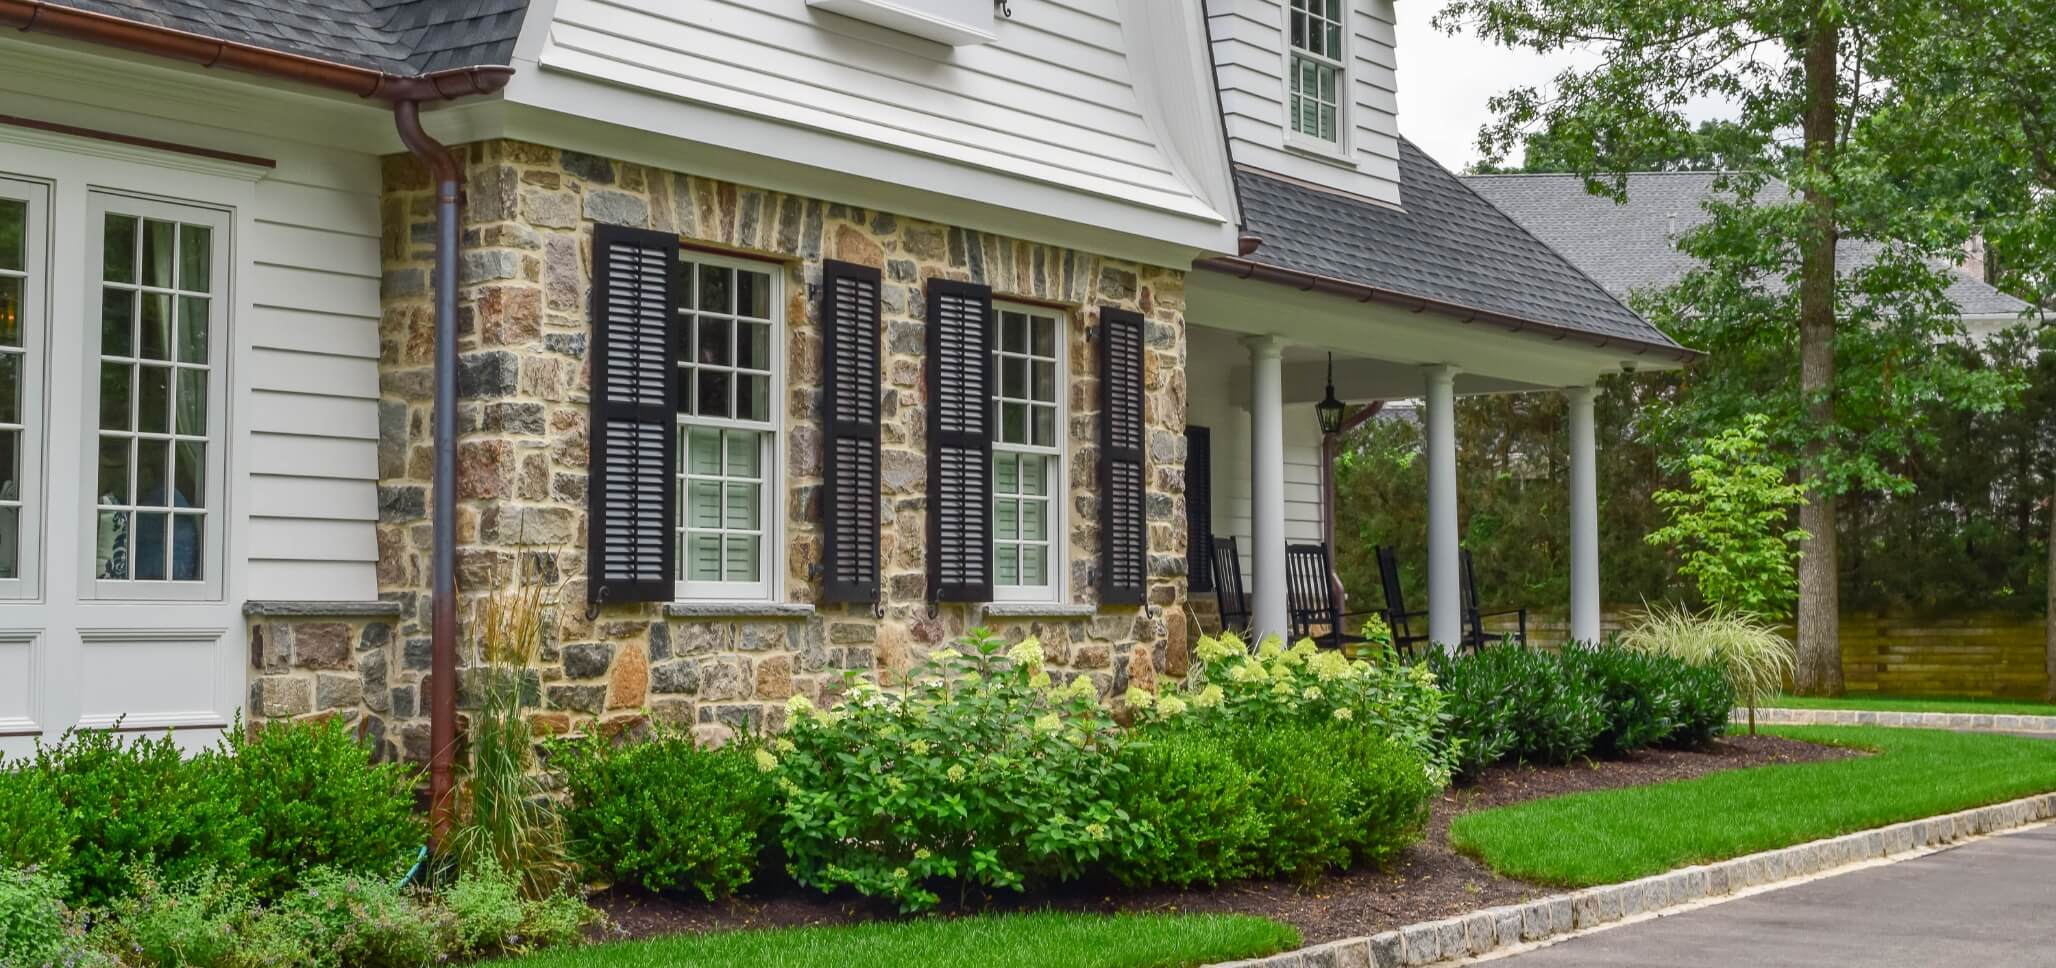
Everybody loves Mini Creta. In fact, these wall “stones” are so popular that we’ve dedicated multiple posts to discussing what makes them so special and how they can be purposed throughout NJ landscapes and hardscape.
If you’re one of the many homeowners who have fallen in love with the beauty, versatility, durability and functionality of Techo-Bloc’s Mini Creta collection, you’re probably feeling very eager to get started on your project.
Before diving in, though, it’s important that you take a step back and evaluate what work actually needs to be done. By taking a look at this user-friendly Mini Creta installation guide, you’ll be able to determine whether you should handle the work on your own or hire a contractor, and formulate a plan for upgrading your hardscape with these fabulous concrete “stones.”
Installation is Everything
It doesn’t matter how much you love a specific Techo-Bloc product or how perfect the texturing and color palette of the materials are for your property if you don’t install them correctly. Poorly executed or sloppy wall block installation can significantly detract from the beauty of your hardscape while creating stressful and costly problems for you down the line.
What’s more, without following proper installation techniques, you will essentially void any warranty on your Techo-Bloc materials and will be required to pay a lot of money to make any necessary repairs down the line.
Throughout the years we’ve seen too many homeowners rush through the task of working with concrete wall blocks without adhering to instructions and then regretting it down the line. For this reason, we urge you to carefully consider all that is required of a Techo-Bloc Mini Creta installation so you can get things right the first time and enjoy your completed wall system for life.
The Mini Creta Installation Process
There are several important steps that go into the Mini Creta Installation process:
1. Gather Your Tools
If you’re planning on handling the installation process on your own, you’ll need to assemble all of the right tools and materials. In addition to the Mini Creta Blocks, you will need crushed stone and sand for a base/foundation. You’ll need a shovel and wheelbarrow, or a heavy duty excavation machinery, depending on the size and scope of the project.
A rake and tamping tool will also be helpful. If you’re planning on installing a light on top of a Mini Creta column, make sure to purchase and wire the correct electrical materials and fixtures prior to installing the blocks.
2. Excavation
Before excavating, make sure to call your local utility providers in order to make sure that no underground cables or wires will be disrupted by the process. Using a shovel or heavy duty machinery, excavate an area to a depth of approximately 6” deep and with the desired length and width of your wall.
Be sure to smooth out the bottom of the excavated area by removing large roots, clumps, or rocks and by raking over the compacted soil. You may also want to lay down geotextile fabric to prevent the growth of weeds.
3. Foundation
Once excavated, it’s time to introduce your crushed stone base to the area. Fill to a depth of 4” compacting the gravel once poured. A setting bed of 1″ of concrete sand should be poured and properly graded on top of the gravel.
4. First Course
The first course of your Mini Creta wall, column, or other hardscaping feature should be constructed by using blocks of the same height. The blocks should be placed directly on the compacted setting bed in a way that follows the predetermined layout (see Techo-Bloc layout guides for detailed instruction, based on the selected pattern.) Make sure that no spaces are left between the exposed faces of adjacent blocks as this will compromise structural integrity. Behind the wall, a 4” diameter perforated drain should be laid down and connected to an existing drainage system.
5. Backfill
Backfill the rear of the wall as well as in the spaces between the backs of blocks. A good backfill material is ¾” clean stone. Make sure than any cavities are filled.
6. Subsequent Courses
Make sure to clean off the top of each Mini Creta block before laying the next course on top of it. Connectors should generally be installed on the extremity of each individual unit. Make sure to backfill at the rear of the wall at approximately every 8”. Take care to align the seams of each block with that of those below it.
7. Finishing
If desired, position your cap (coping) stones at the top of the wall and adhere them to the Mini Creta blocks below by making use of a specific concrete adhesive.
8. Maintenance
Once your Mini Creta wall installation is complete, you will be able to enjoy it for many years to come. The high quality manufactured “stone” requires extremely little maintenance, so you won’t need to invest a lot of time and energy into making sure that the wall looks and functions perfectly.
We simply suggest that you take the time to hose off the wall from time to time in order to remove the buildup of any dust or debris. In the rare event that the blocks become stained, you can remove the discoloration with a solution of water and mild detergent. Use a soft bristled brush to scrub away the blemish.
DIY Mini Creta Installation vs Contractor
Now that you understand what a Mini Creta installation entails, it’s time to ask yourself whether you feel up to the task of handling the installation on your own, or if you should enlist the help of a professional. This decision is entirely up to you, but unless you have some experience in working with Techo-Bloc products or similar hardscaping materials, we generally recommend hiring a contractor.
You need to have all of the right tools and total confidence in your ability to complete the wall with absolute precision in order to take this on as a DIY project. Mistakes could cost you your warranty and could create headaches for you down the road. If you decide to hire a contractor, it’s important to research your options and find a local business that has experience with working with Techo-Bloc products, and specifically, with Mini Creta wall blocks. This will ensure that your installation is handled with speed, care and precision.
Working with Mini Creta Wall Blocks in NJ
Braen Supply is the leading supplier of Mini Creta wall blocks by Techo-Bloc in NJ and its surrounding areas. We have been partnered with Techo-Bloc for many years. As authorized dealers of Techo-Bloc products we are able to offer a full inventory of Mini Creta wall blocks and similar Techo-Bloc hardscaping products.
We’re also able to offer the lowest and most competitive prices for these materials on the market. Our Techo-Bloc Mini Creta products can be purchased and picked up at your convenience, or can be bulk delivered to areas throughout parts of NJ, NY, NYC and PA.


