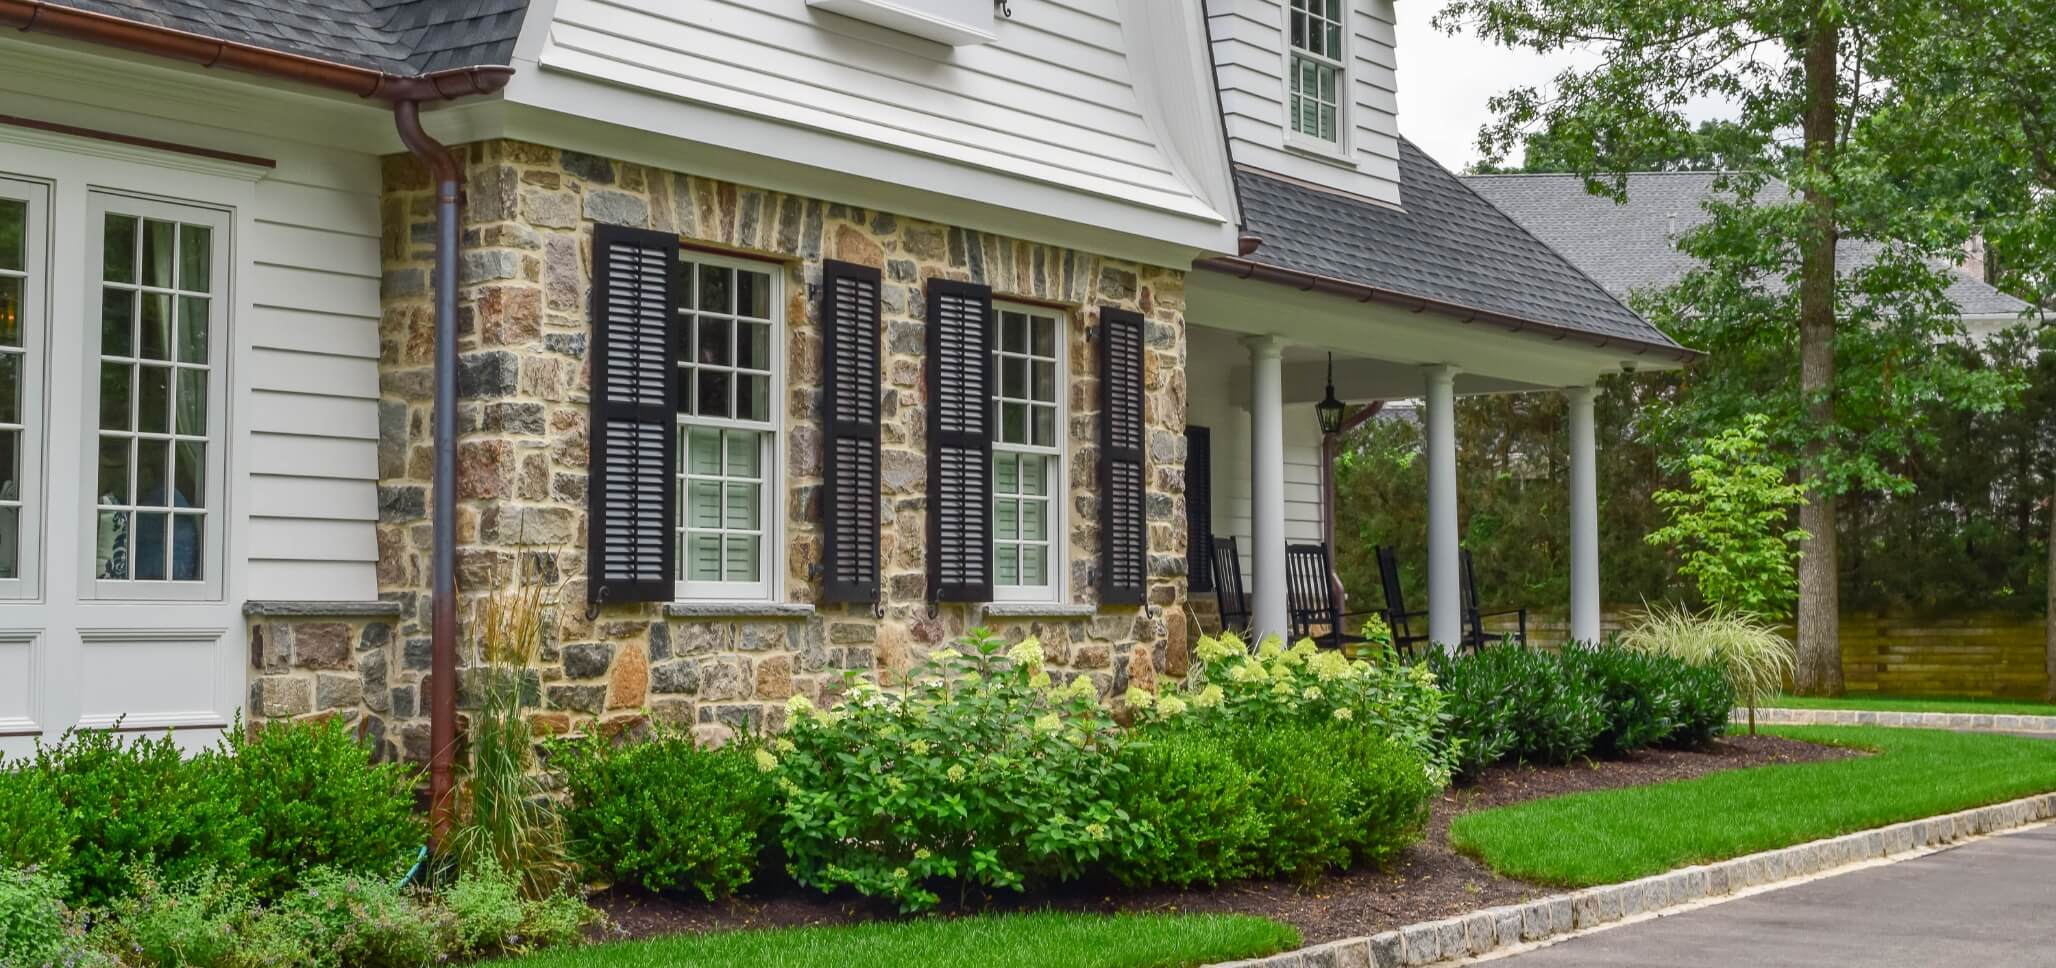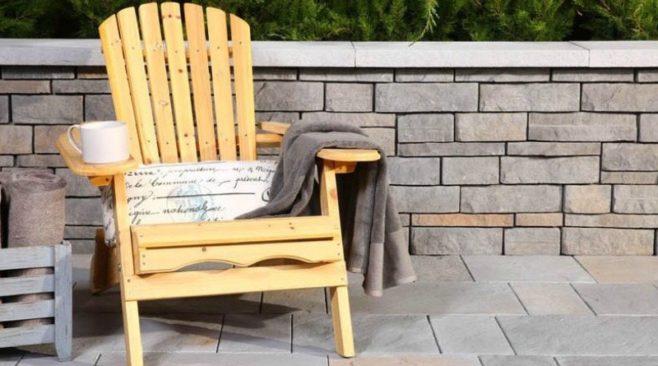
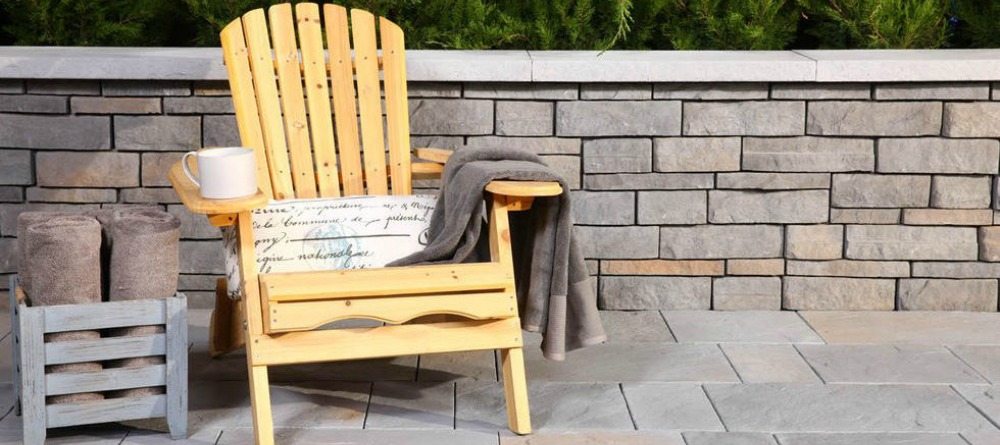
Prescott Wall “stones” by Techo-Bloc make a bold, lasting impression. These stunning, concrete blocks feature a chiseled facing that looks 100% natural.
When paired with the rich texturing and fabulous coloring, you’ll find that it’s extremely challenging – if not altogether impossible – to distinguish the Prescott “stones” from the real thing. Because they are so versatile, Prescott Wall units can be used in a number of ways throughout the landscape and hardscape.
Many NJ homeowners enjoy establishing strong, reliable and breathtaking retaining walls, whereas others incorporate Prescott products into the construction of stairs, pillars, raised planters and other freestanding features.
No matter how you choose to purpose Prescott Wall blocks throughout your property, though, you’ll find that the installation process is quite simple.
By following this guide, experienced Do-It-Yourselfers will have all the information required to build a Prescott Wall, and other homeowners will have a more accurate idea about what they should expect from their professional contractors.
Before You Start
There are a few things that you should take care of before you even begin the actual process of constructing a Prescott Wall:
Design Carefully
Before breaking ground and beginning construction on your Prescott Wall, you first need to feel entirely confident in your design choices. After all, you’re going to be living with the completed project for a long time!
We suggest drawing inspiration from the different design ideas available on the Techo-Bloc website, as well as from a visit to a showroom from a local Techo-Bloc supplier.
You might also consider partnering up with a landscape design professional or making use of an online software design tool to get a better sense for what the completed work will look like.
Assess Your Property
Never begin work on any hardscaping or landscaping project without assessing your property and having it evaluated by your local utility providers.
Underground pipes, wires and cables may exist that you are unaware of, and excavating these areas can create problems for you, sometimes immediately, and sometimes down the road.
Having a utility professional evaluate your property will give you the peace of mind you need to move forward with your plans.
Gather Your Materials
Finally, you’re ready to assemble your materials, tools and equipment. In addition to the Prescott Wall blocks, you’ll need to make use of crushed stone or gravel, and sand for a foundation and bedding.
Depending on how large of an area you’ll be excavating, you may be able to use a shovel, or you may need to rent special excavation equipment and machinery.
It’s also wise to have geotextile fabric on hand to prevent the growth of weeds, and it’s smart to have tools on hand to allow for adequate drainage behind or beneath the completed wall.
Step 1: Excavation
When excavating the project area for your Prescott Wall, you need to be careful to dig to the appropriate depth. This will ensure the ongoing stability and structural integrity of your completed work. As a general rule, at least 10% of the height of the wall should be buried below the ground.
Because most walls are approximately 5’ tall, this means that the area should be excavated to a minimum depth of 6”. The length of the excavated area will obviously depend on how large of an area you plan to cover with the blocks.
In terms of width, it’s wise to plan on at least 6” for the leveling pad, but be aware, too, that some space will need to be left at the front and back of the wall for backfill and drainage.
Once the area is excavated to the correct dimensions, be sure to remove any thick roots, large rocks or clumps and anything else that may become an obstruction throughout the rest of the installation process.
Step 2: Foundation
As you prepare the foundation, you’ll need to take care of any drainage piping or systems that you plan on installing here. You will also need to take the time to put down a layer of geotextile fabric to prevent roots, weeds and other vegetation from growing up from beneath the completed wall system.
Spread the crushed stone throughout the excavated trench and compact firmly. Some contractors chose to fill in the voids with sand or stone dust for maximum stability.
Step 3: Building the First Course
Blocks of the same height must be used for the first course. Be sure to follow the predetermined layout of the pattern you have selected, and check at regular intervals to ensure that the blocks are level and aligned correctly.
A perforated pipe drain can be connected to an existing drainage system and situated behind the wall to improve drainage.
Step 4: Backfilling
Backfill both at the wall’s rear and the space between the back of the blocks. You should also fill any cavities in the blocks with clean stone at this time.
Step 5: Building Subsequent Courses
Before subsequent courses are applied, make sure that the tops of the blocks in the row beneath are clean and ready. Stop and backfill every 8” and keep an eye on seam alignment as you go.
Step 6: Finishing the Job
The Prescott Wall system should be finished off with either a final course of blocks, or with the capping material of your choice. In order to affix coping stones or the final course of stones, you’ll need to make use of a concrete adhesive.
Aftercare and Maintenance
After investing your time and energy into the installation of a fabulous Techo-Bloc Prescott Wall, you want to make sure that it continues to look incredible and function perfectly in the many years ahead. The good news is that maintaining and caring for your Prescott Wall will require very little elbow grease on your part.
Because the wall blocks are crafted with such care and feature color treatments that resist fading and staining, you won’t have to worry about your completed project becoming damaged from the elements or exposure to sunlight, and you won’t have to stress about the hardscape becoming stained easily.
Simply hosing down your wall with a soft stream of water (not power washing) from time to time will help remove dust and debris, preventing them from accumulating and detracting from the beauty of your property.
Building With Prescott Wall “Stones” in NJ
When you’re ready to start building with the incredible Prescott Wall “stones” by Techo-Bloc, be sure to visit one of Braen Supply’s two convenient NJ locations.
We are authorized Techo-Bloc dealers, and after years in the industry, we’ve build up a strong reputation for offering the highest quality materials at the fairest and most reasonable rates.
Our team of experts is passionate about what they do and will take the time to answer any of your Techo Bloc-related questions or to provide you with inspiration and advice on your upcoming project.
Feel free to pick up your Techo-Bloc Prescott Wall materials from our location, or talk to us about having them delivered to job sites throughout parts of NJ, NY, NYC and PA.