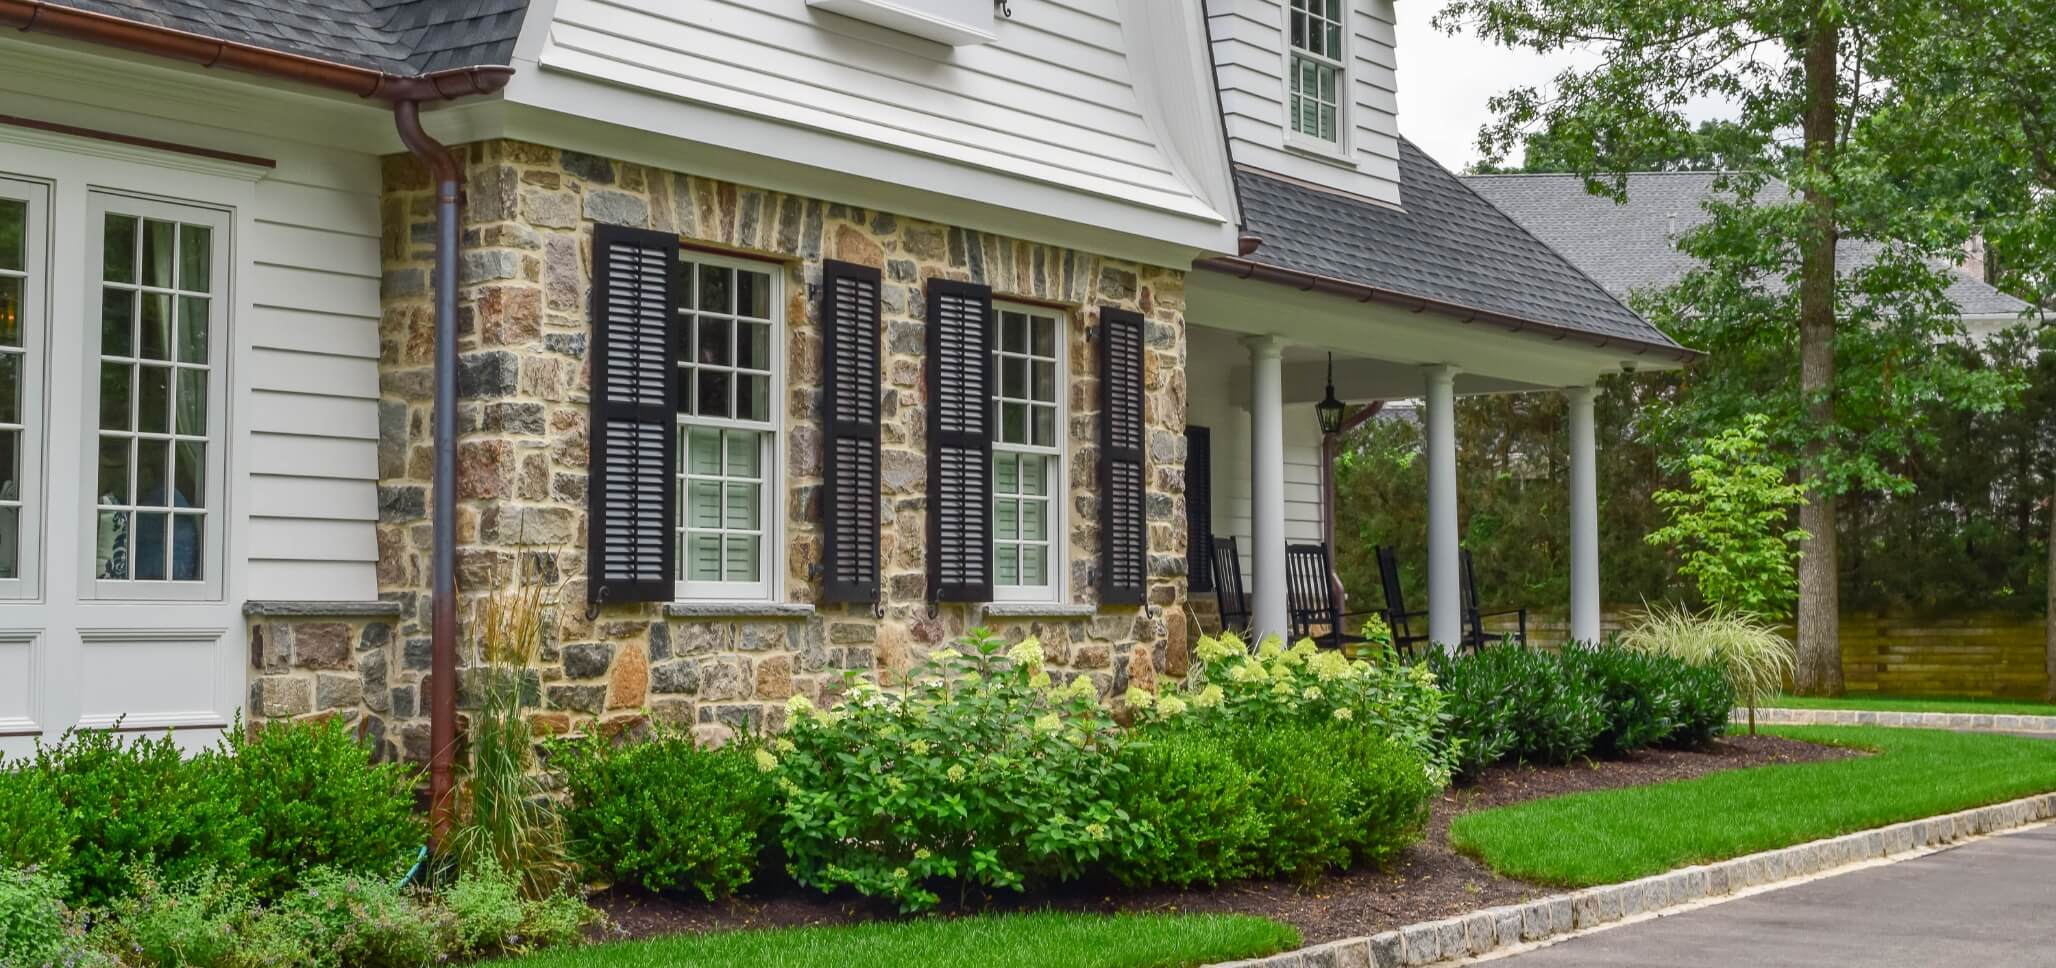
Interlocking concrete pavers are one of the most sought-after landscaping materials throughout northern NJ. Homeowners love the fact that they can work with these manufactured paving stones in order to create unique outdoor living spaces.
Whether you prefer the look of straight edges and linear shapes or curves, arcs and other irregular designs, you’ll have the freedom to create the concrete paver patio of your dreams.
The key to getting the most out of your patio, though, comes from understanding the installation process. Follow the steps and tips outlined below for best results. We strongly recommend speaking with a contractor before installation if you have any questions or doubt. It’s better to have a picture perfect installation for your project done by a professional than a small but problematic mistake or skipped step in the process trying to do the job yourself.
Required Materials and Tools
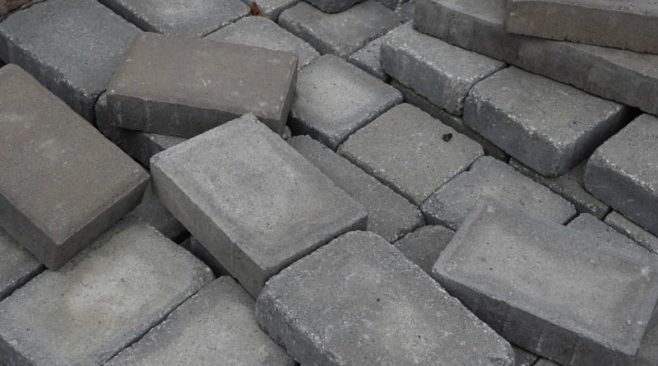
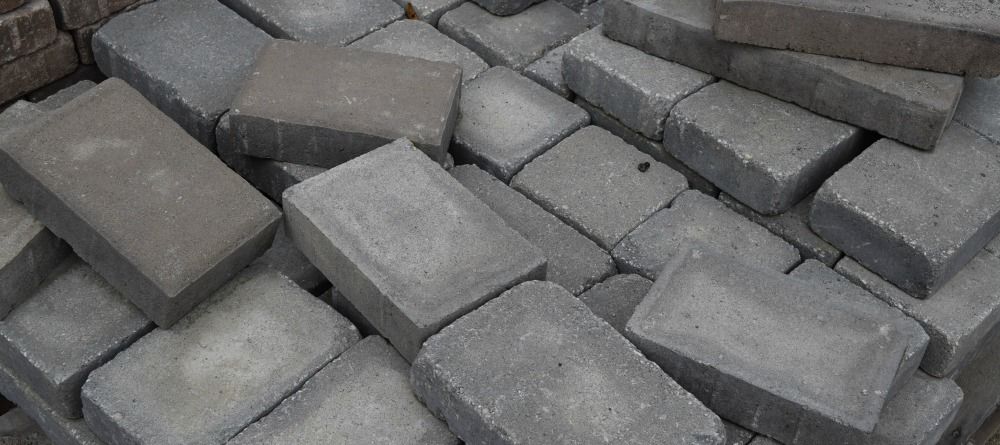
- Concrete Pavers
- Gravel
- Sand
- Edging Blocks (if desired)
- Landscape Edging
- Landscaping Stakes
- Shovel
- Tamping Tool
Step 1: Choose and Purchase Quality Materials
Since a patio is such a major part of your landscape and plays such a significant role in property value, it’s very important that you take the time to carefully select your concrete pavers. You’ll find that there are several manufacturing companies that design and engineer high quality, interlocking pavers. Be sure to stick with brands that offer a lot in the way of color, style and shape.
It’s also wise to find out what the pavers are comprised of and what processes are used during manufacturing. Make sure that you are purchasing these stones from a supplier that is actually authorized to sell materials on behalf of the manufacturer. This will ensure that you’re getting the real thing as opposed to a cheap knockoff, and will also guarantee that you receive the most accurate product information from your supplier.
Step 2: Mark off the Perimeter
Next, you’ll need to create a layout for your patio. Take a look at the area that you have to work with throughout your property and determine how large or small the patio should be, as well as which shape would best suit your yard. Work with a partner to hammer stakes into the ground as a means of marking the dimensions for the desired patio design.
Make sure that you work around any existing fixtures or obstacles so that no complications or problems arise during the installation process. Wrap string around the stakes to get a better visual image of the project area and look it over to make sure that you’re happy with the layout.
Step 3: Excavate
Use a shovel (or other desired equipment) to excavate the area within the string to a depth of 3″- 4″. It’s best to employ a flat-bladed shovel which makes it possible to make clean edges and a smooth bottom surface. This will ease the process of leveling the area. Make sure that the base of the excavated area is sloped slightly away from the foundation of your home in order to prevent flooding.
Step 4: Clear and Tamp the Soil
Be sure to remove any rocks, sticks, roots or other debris which may be at the bottom of the cavity or lodged in the walls of the excavated area. This will prevent shifting and similar issues down the road. After the area has been cleared, be sure to tamp down the area to keep it as compact and firm as possible. This is the time, too, to make sure that the excavated depth is even throughout.
Step 5: Pour Sand
You’ll need to pour sand into the base of the cavity to a depth of approximately 1″ for proper leveling. Its a good idea to rake over the sand after pouring to ensure that it’s completely level and uniformly distributed.
Step 6: Lay Down Pavers
Now we come to the fun part – laying down the concrete pavers. We strongly recommend that you begin with the four stones that will sit at the outermost boundaries of the patio area. Getting these first pavers aligned is a critical part of keeping the bond for filling in the remaining stone pavers. From the corners, work across the space working your way from one side to the other.
This will help to keep the pattern consistent and any pavers that may need to be cut will be cut along the edge as opposed to somewhere in the middle. You’ll need to be careful to stick with any plans and designs that require specific patterning so that your patio looks as you dreamed it would.
You may also need to use a circular saw or work with a professional to cut some of your pavers to fit for irregular shapes or patterns. After laying down each paver into the sand, we recommend pressing it firmly or tapping it with a rubber mallet to help it bond with the sand and remain in place.
Step 7: Fill in the Joints
Once all of the concrete pavers have been laid down, pour a layer of sand over the top of the patio. Use a broom to gently work the sand into the joints between each individual stone. Spray water over the sand to help it settle into place and continue this process until the entire crevasse is filled.
Many homeowners choose to use polymeric sand which is specifically designed to fill joints in masonry projects, but regular mason sand will also suffice.
Step 8: Install a Border
Pre-caste matching edge stones will help to create an attractive border for your patio that will tie everything together and make your project truly look complete.
Step 9: Backfill Any Irregular Edges (as needed)
If the layout of your patio is irregular, it’s wise to backfill the empty spaces for support. You can do this by applying landscaping fabric and filling in the space between the ground and the patio’s edging material with pea gravel or other decorative stone. This not only adds to the visual appeal of the patio, but also creates more structural integrity and reduces the risk of shifting and settling.
Step 10: Sweep Off the Surface
Using your broom, carefully sweep over the surface of your newly installed patio in order to remove any remaining sand or other materials. From here, you’re free to enjoy your outdoor living space and all of your hard work!
Caring For Your Patio
After you’ve installed your new concrete paver patio, you’ll need to take certain steps to ensure that it remains in tip-top shape. Interlocking concrete pavers are engineered to last for many years, and when properly cared for, they are generally covered by a lifetime warranty.
To preserve this warranty, you should sealcoat the pavers upon initial installation and once every 2-3 years thereafter. Be sure to sweep the patio regularly to prevent leaves, sticks, grass, dirt and other debris from building up and creating issues with mold or mildew. Remove stains promptly by scrubbing affected areas with a diluted solution of mild soap and water with a soft brush.
Ready to get started on your new concrete paver patio? Reach out to the pros at Braen Supply today. As the leading supplier of concrete pavers in northern NJ, we offer the best products on the market at the fairest prices.
We are partnered with many of the leading manufacturers of concrete pavers, ensuring that we always have the latest product offering and most accurate information on the materials you desire most. We’re happy to provide you with useful tips and advice and can answer any questions that you may have. Our concrete patio pavers can be picked up or bulk delivered to locations throughout NJ, NY, PA, and CT.